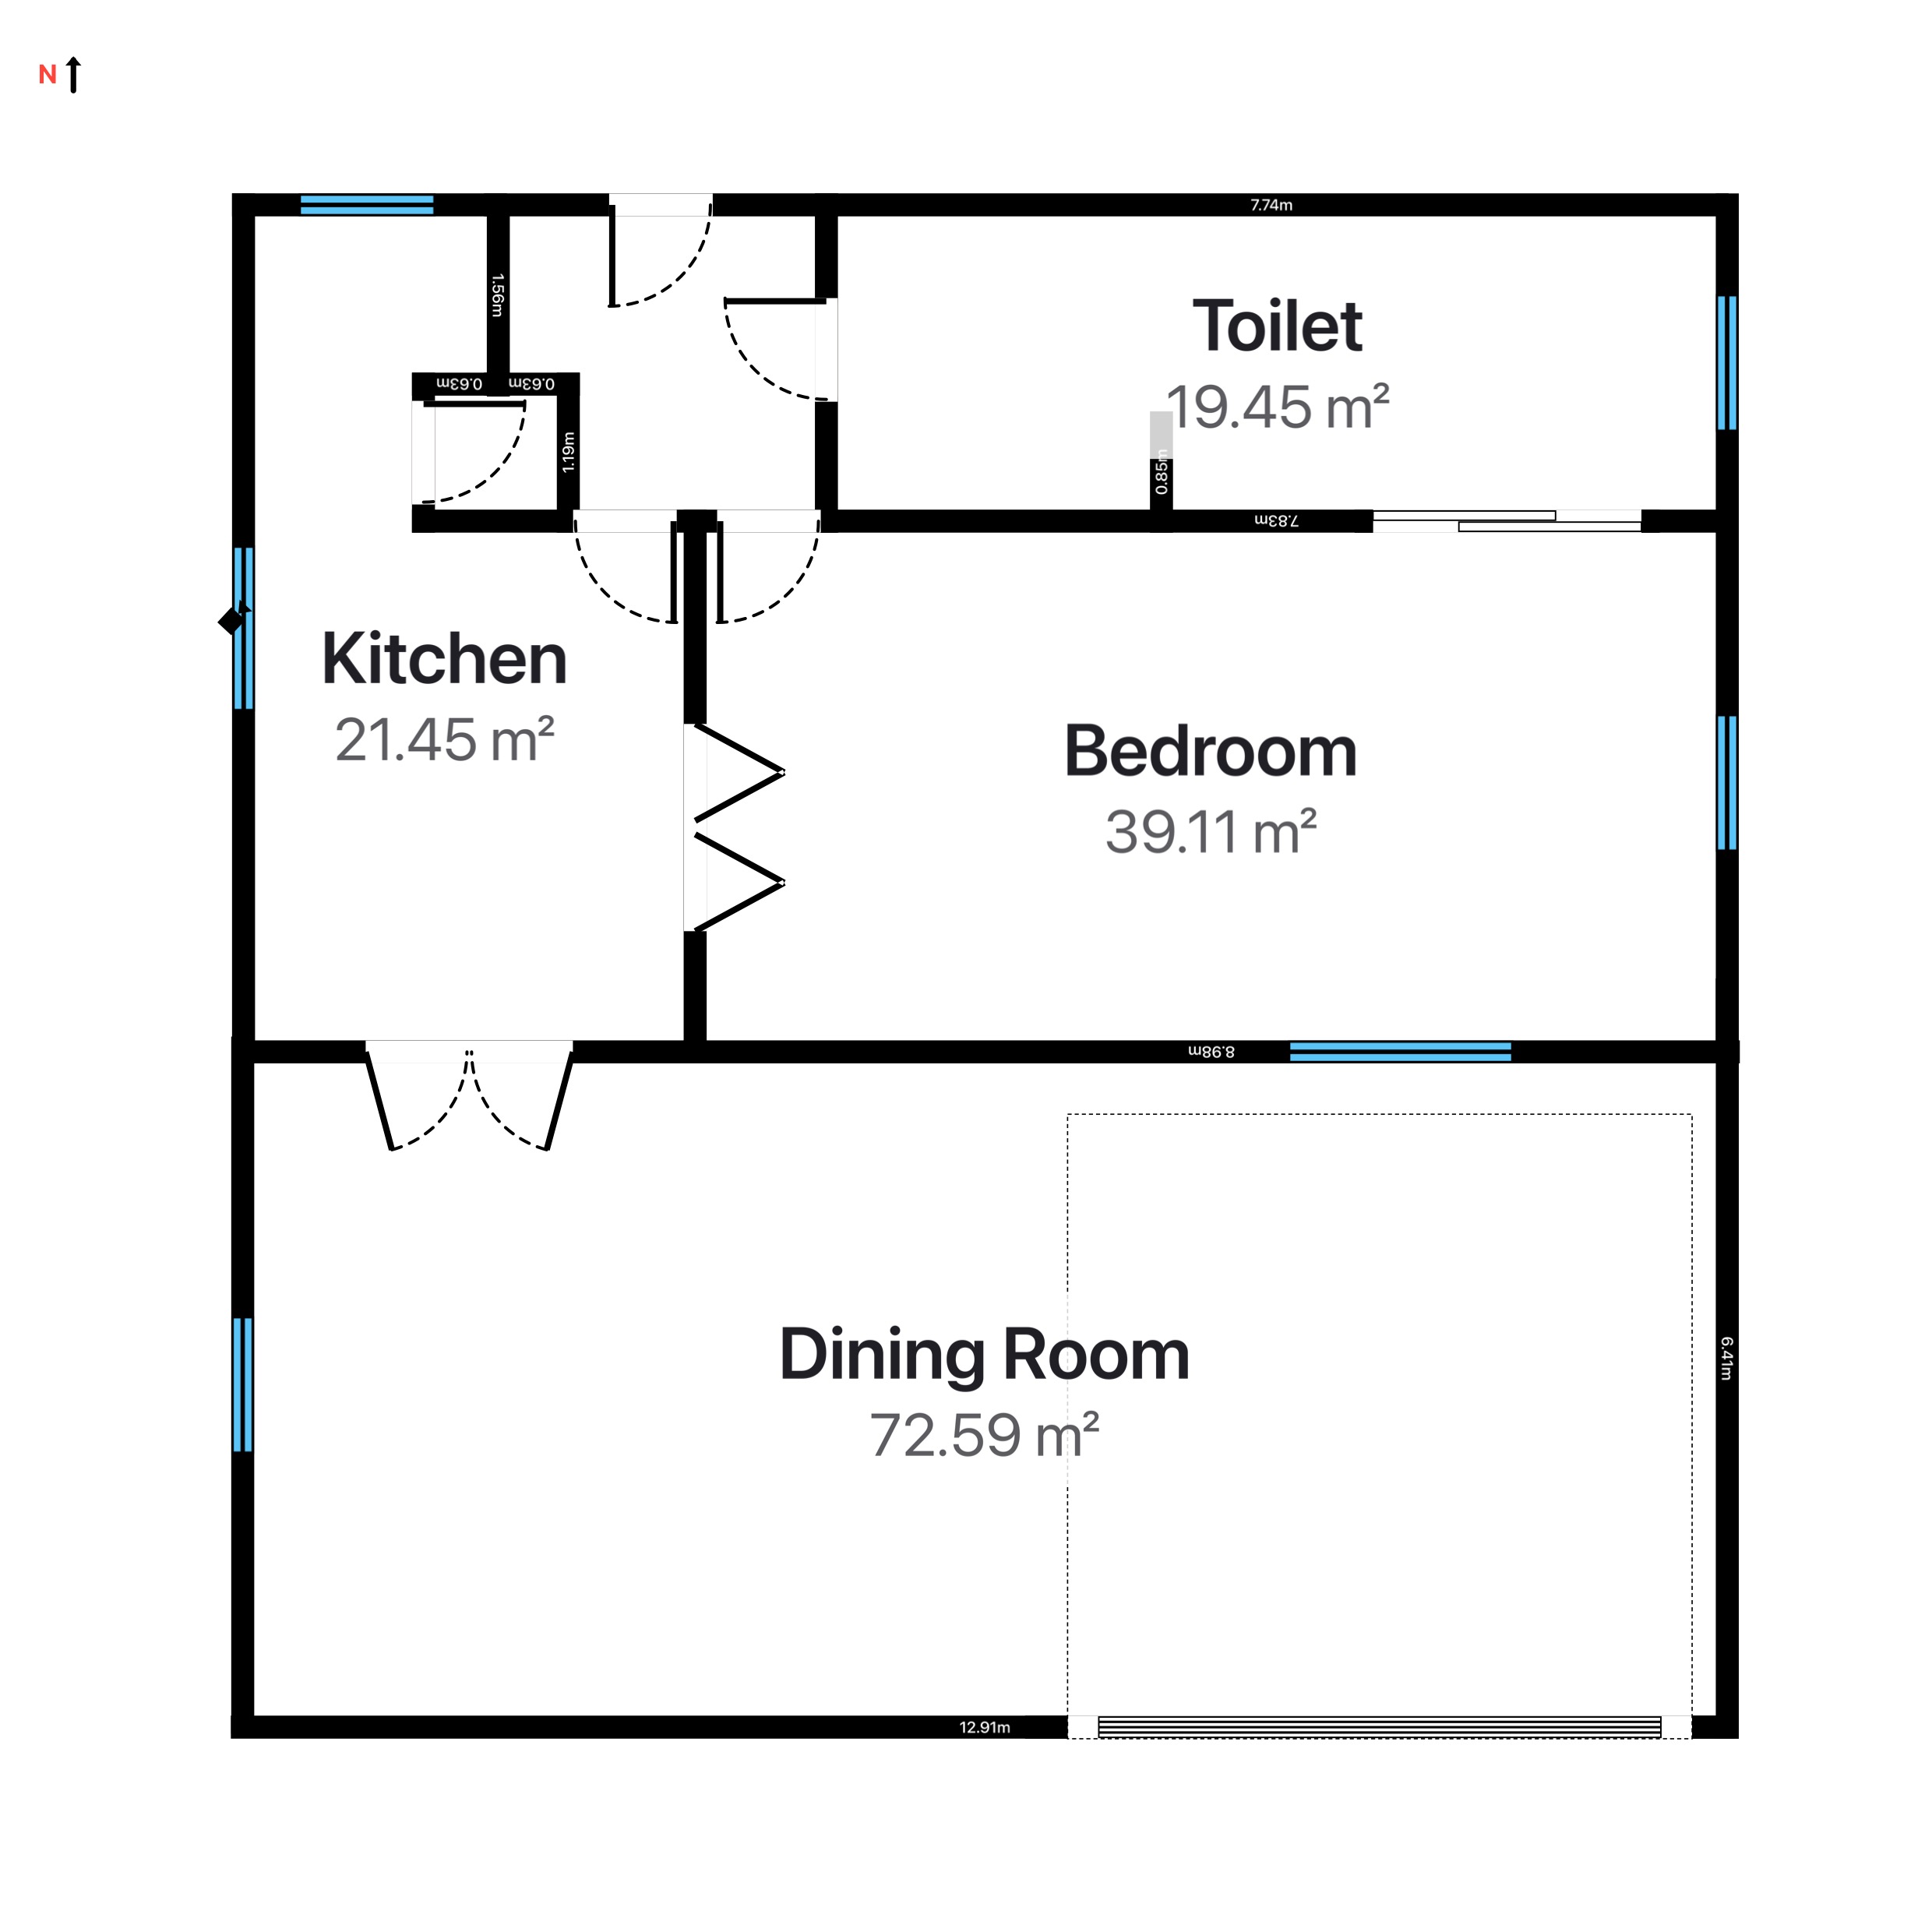
A floor plan is no longer a nice-to-have on a property listing - Rightmove's consumer research found that around one in five buyers will skip past a listing without one, and one in ten would never book a viewing before seeing the layout. Since the UK's material information rules pushed room and layout details onto every portal listing, agents increasingly expect a plan with the photo set as standard. For a property photographer that is good news: you are already on site with the right kit, so capturing a plan adds minutes to the appointment and a clean, recurring line to the invoice. This guide shows how to produce an accurate, branded listing floor plan from the same visit as the photos, on the iPhone or iPad you already carry.
Why agents now expect a plan with the photos
Two things changed the market. First, the numbers: floor plans measurably move listings. Industry research collated by CubiCasa and Rightmove puts the uplift from adding a plan at roughly 52% more click-throughs, with 93% of buyers saying they spend more time on a listing that has one. A plan lets buyers self-select before they book, which means fewer wasted viewings and fewer "how big is the second bedroom?" calls for the agent.
Second, the rules: from November 2023, National Trading Standards' material information guidance (Part B) told agents to include property layout information on sales and lettings listings, and the major portals built those fields into their listing forms. That guidance was withdrawn in May 2025 when the Digital Markets, Competition and Consumers Act 2024 took over consumer-protection enforcement, but the underlying duty not to omit material information remains - now policed directly by the Competition and Markets Authority, with the power to fine without going to court. In practice, agents still treat a floor plan as part of a complete, compliant listing, which makes the photographer who delivers one in the same package the easy choice. Rules and portal requirements evolve, so agents should confirm current expectations for their market.
Capture the plan on the same visit
The fast route is a LiDAR scan. On a Pro iPhone or iPad, walk each room and RoomPlot uses Apple's RoomPlan to detect the walls, doors and windows automatically, then merges room after room into one connected plan with the multi-room scan. A typical two- or three-bed flat is a few minutes of walking, and multi-floor projects keep each storey of a house on its own level. No LiDAR on the device you carry? Use the Draw Manually route - sketch the rooms with smart snapping and type your measured wall lengths - and you still get a to-scale plan without a second trip.
This is where RoomPlot earns its place in a photographer's kit. The scan runs on-device with Apple's RoomPlan and ARKit, so wall, door and window detection is fast and accurate without sending anything to a cloud service or waiting on a drawing bureau. There is a dedicated Photo Viewpoint symbol in the Real Estate set, so you can mark exactly where each hero shot was taken - handy when the agent asks for a reshoot. You can also pin notes and photos to the plan as you walk, so a question about a boiler cupboard or an awkward alcove is answered from the file, not from memory. And because everything from automatic room areas to branded export happens in the same app, you control the whole deliverable rather than stitching together three tools.
Tip. Scan or sketch before you start shooting, while the rooms are still tidy and before furniture gets nudged. The plan only needs the shell - walls, doors and windows - so it is quick, and you can refine labels and styling back at the desk.
Tidy it up for the listing
A listing plan should be instantly readable, so keep it clean:
- Name every room with a zone label - the name and its auto-calculated area sit at the centre of each room, counter-rotated to stay horizontal.
- Show the totals buyers want - per-room areas plus an overall figure, in metric or imperial to suit the market. UK brochures usually quote square metres with square feet alongside.
- Add a north arrow with RoomPlot's North marker so the aspect is clear - which rooms get the afternoon sun is a genuine selling point.
- Drop dimensions and a scale bar from the Real Estate set for the buyers who measure for furniture.
- Keep it honest - do not stretch rooms or straighten awkward angles. A misleading plan is a misleading listing, and reshoots cost more than accuracy.
Quote areas on a recognised basis
If the agent quotes a total floor area, it should be measured on a consistent, recognised basis. In the UK that traditionally means Gross Internal Area (GIA) from the RICS measurement standards; the newer IPMS Residential definitions sit alongside it, with IPMS 3B being the measure that broadly corresponds to GIA. RICS retired its Property Measurement 2nd edition in mid-2025 as the profession transitions towards IPMS: All Buildings, so the safe habit is simply to state on the plan which basis you used and apply it consistently from job to job. RoomPlot calculates each room's area automatically from the scanned or drawn geometry, so per-room figures and the total stay in sync as you edit - but if a valuation-grade area is needed, that is a job for a RICS surveyor, not a marketing plan. A short "for illustration only" disclaimer in your export footer is standard practice and protects both you and the agent.
Brand it and export the right sizes
This is where the plan becomes part of your service, not a generic screenshot. Pick an export template - Warm sits well beside lifestyle photography, Architectural for a sharper agency look - and export the sizes each channel wants:
- PNG or JPG at 1080p for the portal gallery, where the plan sits in the photo carousel alongside your images.
- PNG or JPG at A4 / 300 dpi for the printed brochure or window card, so the wall lines stay crisp on paper.
- A single-page PDF for the downloadable particulars, or a multi-page branded report when the agent wants every floor of a house in one document.
- DXF on the rare job where an architect or developer client wants the geometry in CAD - a premium deliverable most listing photographers cannot offer.
Add your studio's logo and footer to the export so every plan carries your brand back to the agent. If you photograph for several agencies, save each one's branding and switch between them per job. With iCloud Sync enabled (Settings → iCloud Sync), a plan captured on the iPhone at the property is waiting on the iPad or the desk when you sit down to edit.
Make it a repeatable add-on
Photographers typically price a listing floor plan as a fixed add-on per property, and because the whole workflow runs on the phone or iPad you already shoot with, the margin is almost entirely time you are already on site. The routine: scan or sketch on arrival while the rooms are tidy, shoot as normal, then label, brand and export back at the desk and deliver the plan alongside the gallery. For the measuring side in more detail, see our guide to measuring a room for a floor plan, or browse the full set of RoomPlot guides to round out your listing workflow.