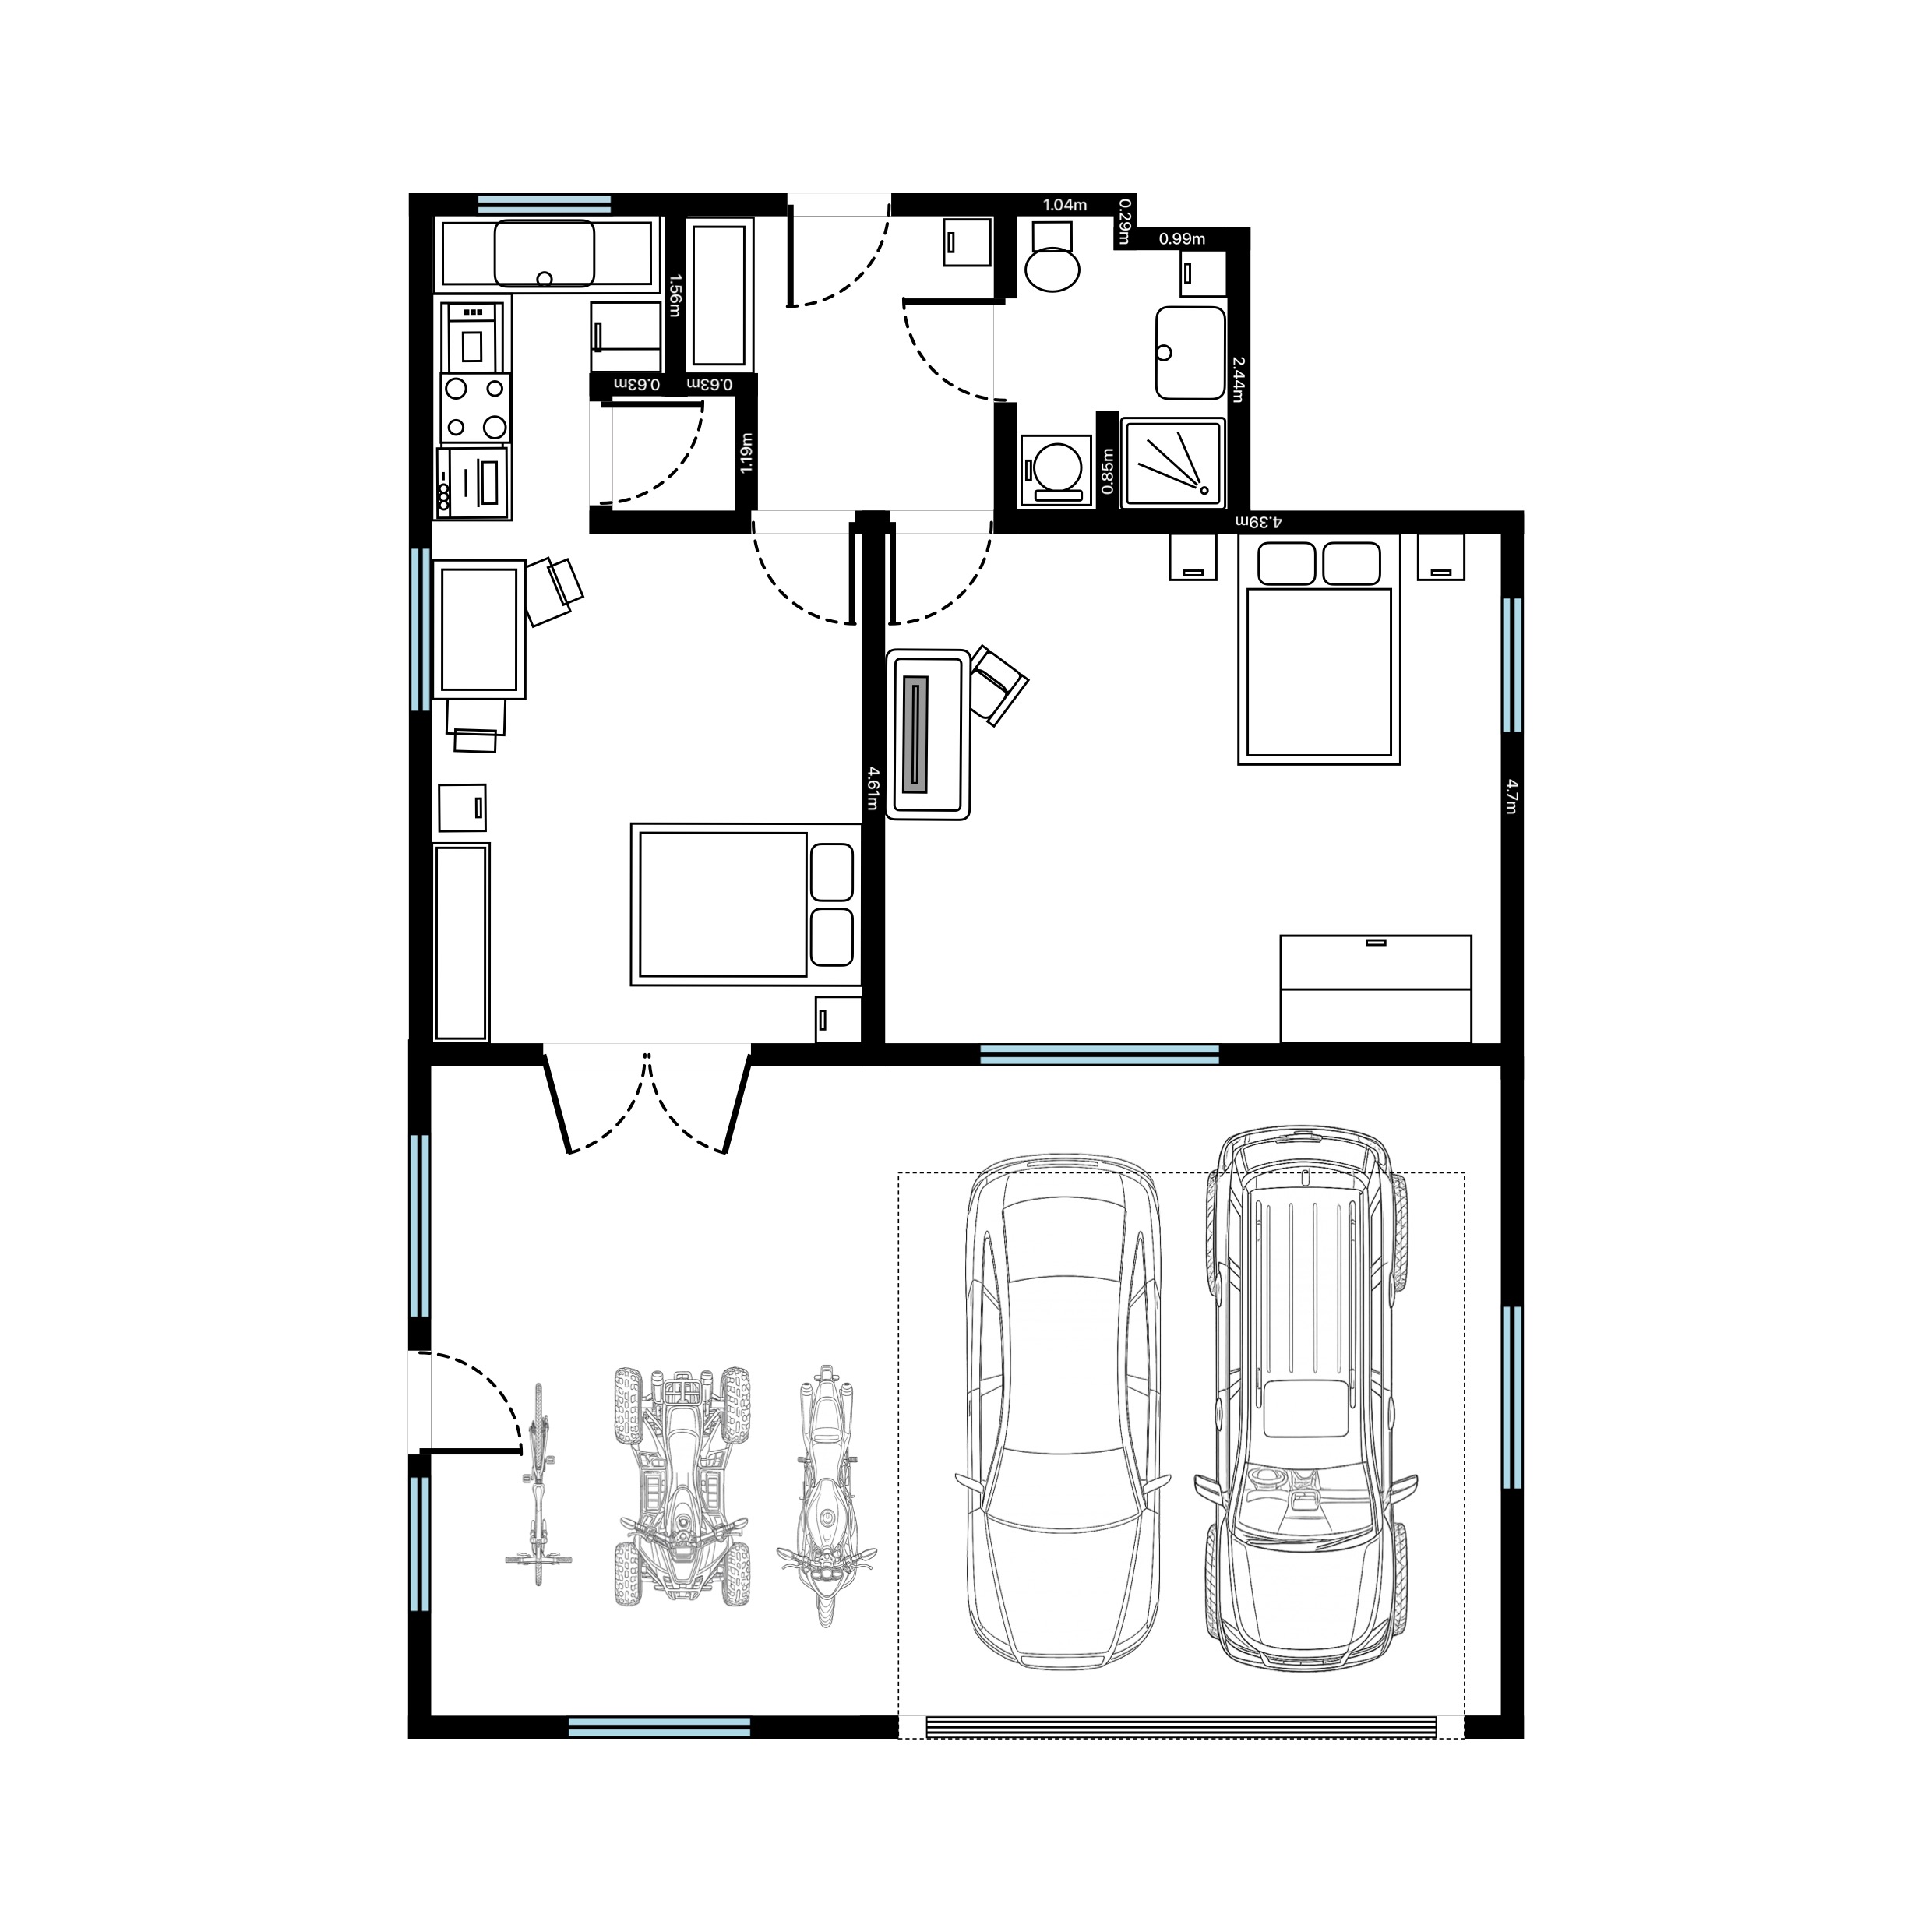
The kitchen work triangle is the oldest rule in kitchen design, and it still settles more layout arguments than any other. Drawn between the sink, the hob and the fridge, it describes the path a cook walks hundreds of times a week. Get the triangle right and a kitchen feels effortless; get it wrong and every meal involves a hike. This guide explains the rule, the measurements behind it, and how to check your own triangle on an accurate floor plan before anyone orders a single cabinet.
What is the kitchen work triangle?
The three busiest points in a kitchen are the sink (prep and washing up), the hob (cooking) and the fridge (storage). Join those three points with straight lines and you have the work triangle. The idea, developed from time-and-motion studies in the 1940s, is simple: those three stations should be close enough that cooking involves few wasted steps, but not so close that the cook has no landing space and two people cannot pass.
The rules of thumb
Designers generally check a triangle against five tests:
- Each leg between 1.2 m and 2.7 m (4-9 ft). Shorter and the kitchen is cramped; longer and you are commuting between stations.
- All three legs added together between 4 m and 8 m (13-26 ft).
- No obstacle should cut more than about 30 cm into any leg. An island corner clipping a path is fine; an island blocking it is not.
- No through-traffic across the triangle. A route to the garden door that crosses between hob and sink is how pans and people collide.
- No full-height obstruction between any two points. A tall larder unit between the sink and the fridge breaks the triangle even if the distance is right.
How to check your triangle on a floor plan
- Draw the kitchen to scale. Measure the room properly first: see our guide to drawing a kitchen floor plan for the full process.
- Mark the three stations. Use the front centre of the sink, the hob and the fridge, not the corner of the cabinet they sit in.
- Measure each leg. On-plan dimensions do this in seconds and stay accurate as you drag appliances around.
- Add the legs up and test the total against the 4-8 m range, then walk the plan in your head: does any route to the garden, the bin or the table cross the triangle?
Tip. Test layouts before you commit. On a scaled plan, dragging the fridge one cabinet along and re-reading the dimensions takes ten seconds; doing it after the electrician has been costs rather more.
Applying the triangle to common layouts
- Galley. Naturally strong triangles: sink and hob on one run, fridge opposite. Keep the aisle at 1.2 m or more so the dishwasher door and a person can coexist.
- L-shape. Put the sink near the corner and split the hob and fridge along the two legs. Watch for dining chairs backing into the triangle.
- U-shape. The classic one-station-per-run arrangement in the diagram above, and the easiest to balance.
- Island kitchens. If the hob or sink moves to the island, the triangle usually tightens. The thing to check is the 30 cm rule: the island must not block the leg between the two stations left on the wall runs.
When the triangle is not the right tool
The rule assumes one cook and three stations. Large open-plan kitchens, twin-cook households and kitchens with separate ovens, coffee stations and breakfast cupboards are often better planned as zones: prep, cooking, cleaning, storage, and a clear route between them. Even then, the triangle remains a fast sanity check for the core of the kitchen, and for compact kitchens, galleys and annexes it is still the single most useful test.
Checking the triangle in RoomPlot
RoomPlot makes the whole exercise practical on site. Scan the room with LiDAR on a Pro iPhone or iPad, or draw it by hand with snapping keeping the corners square. Then drop in real-size appliances from the kitchen object library, drag them along the runs, and read the on-plan dimensions as you go. You can switch the whole plan between metric and imperial, label the room with its area, and export a clean A4 PDF or image to share with your kitchen fitter. When the layout is agreed, the same plan carries straight through to quotes and building work.
Ready to test your kitchen? Browse more floor-plan guides, or scan the room and draw your triangle in a few minutes.