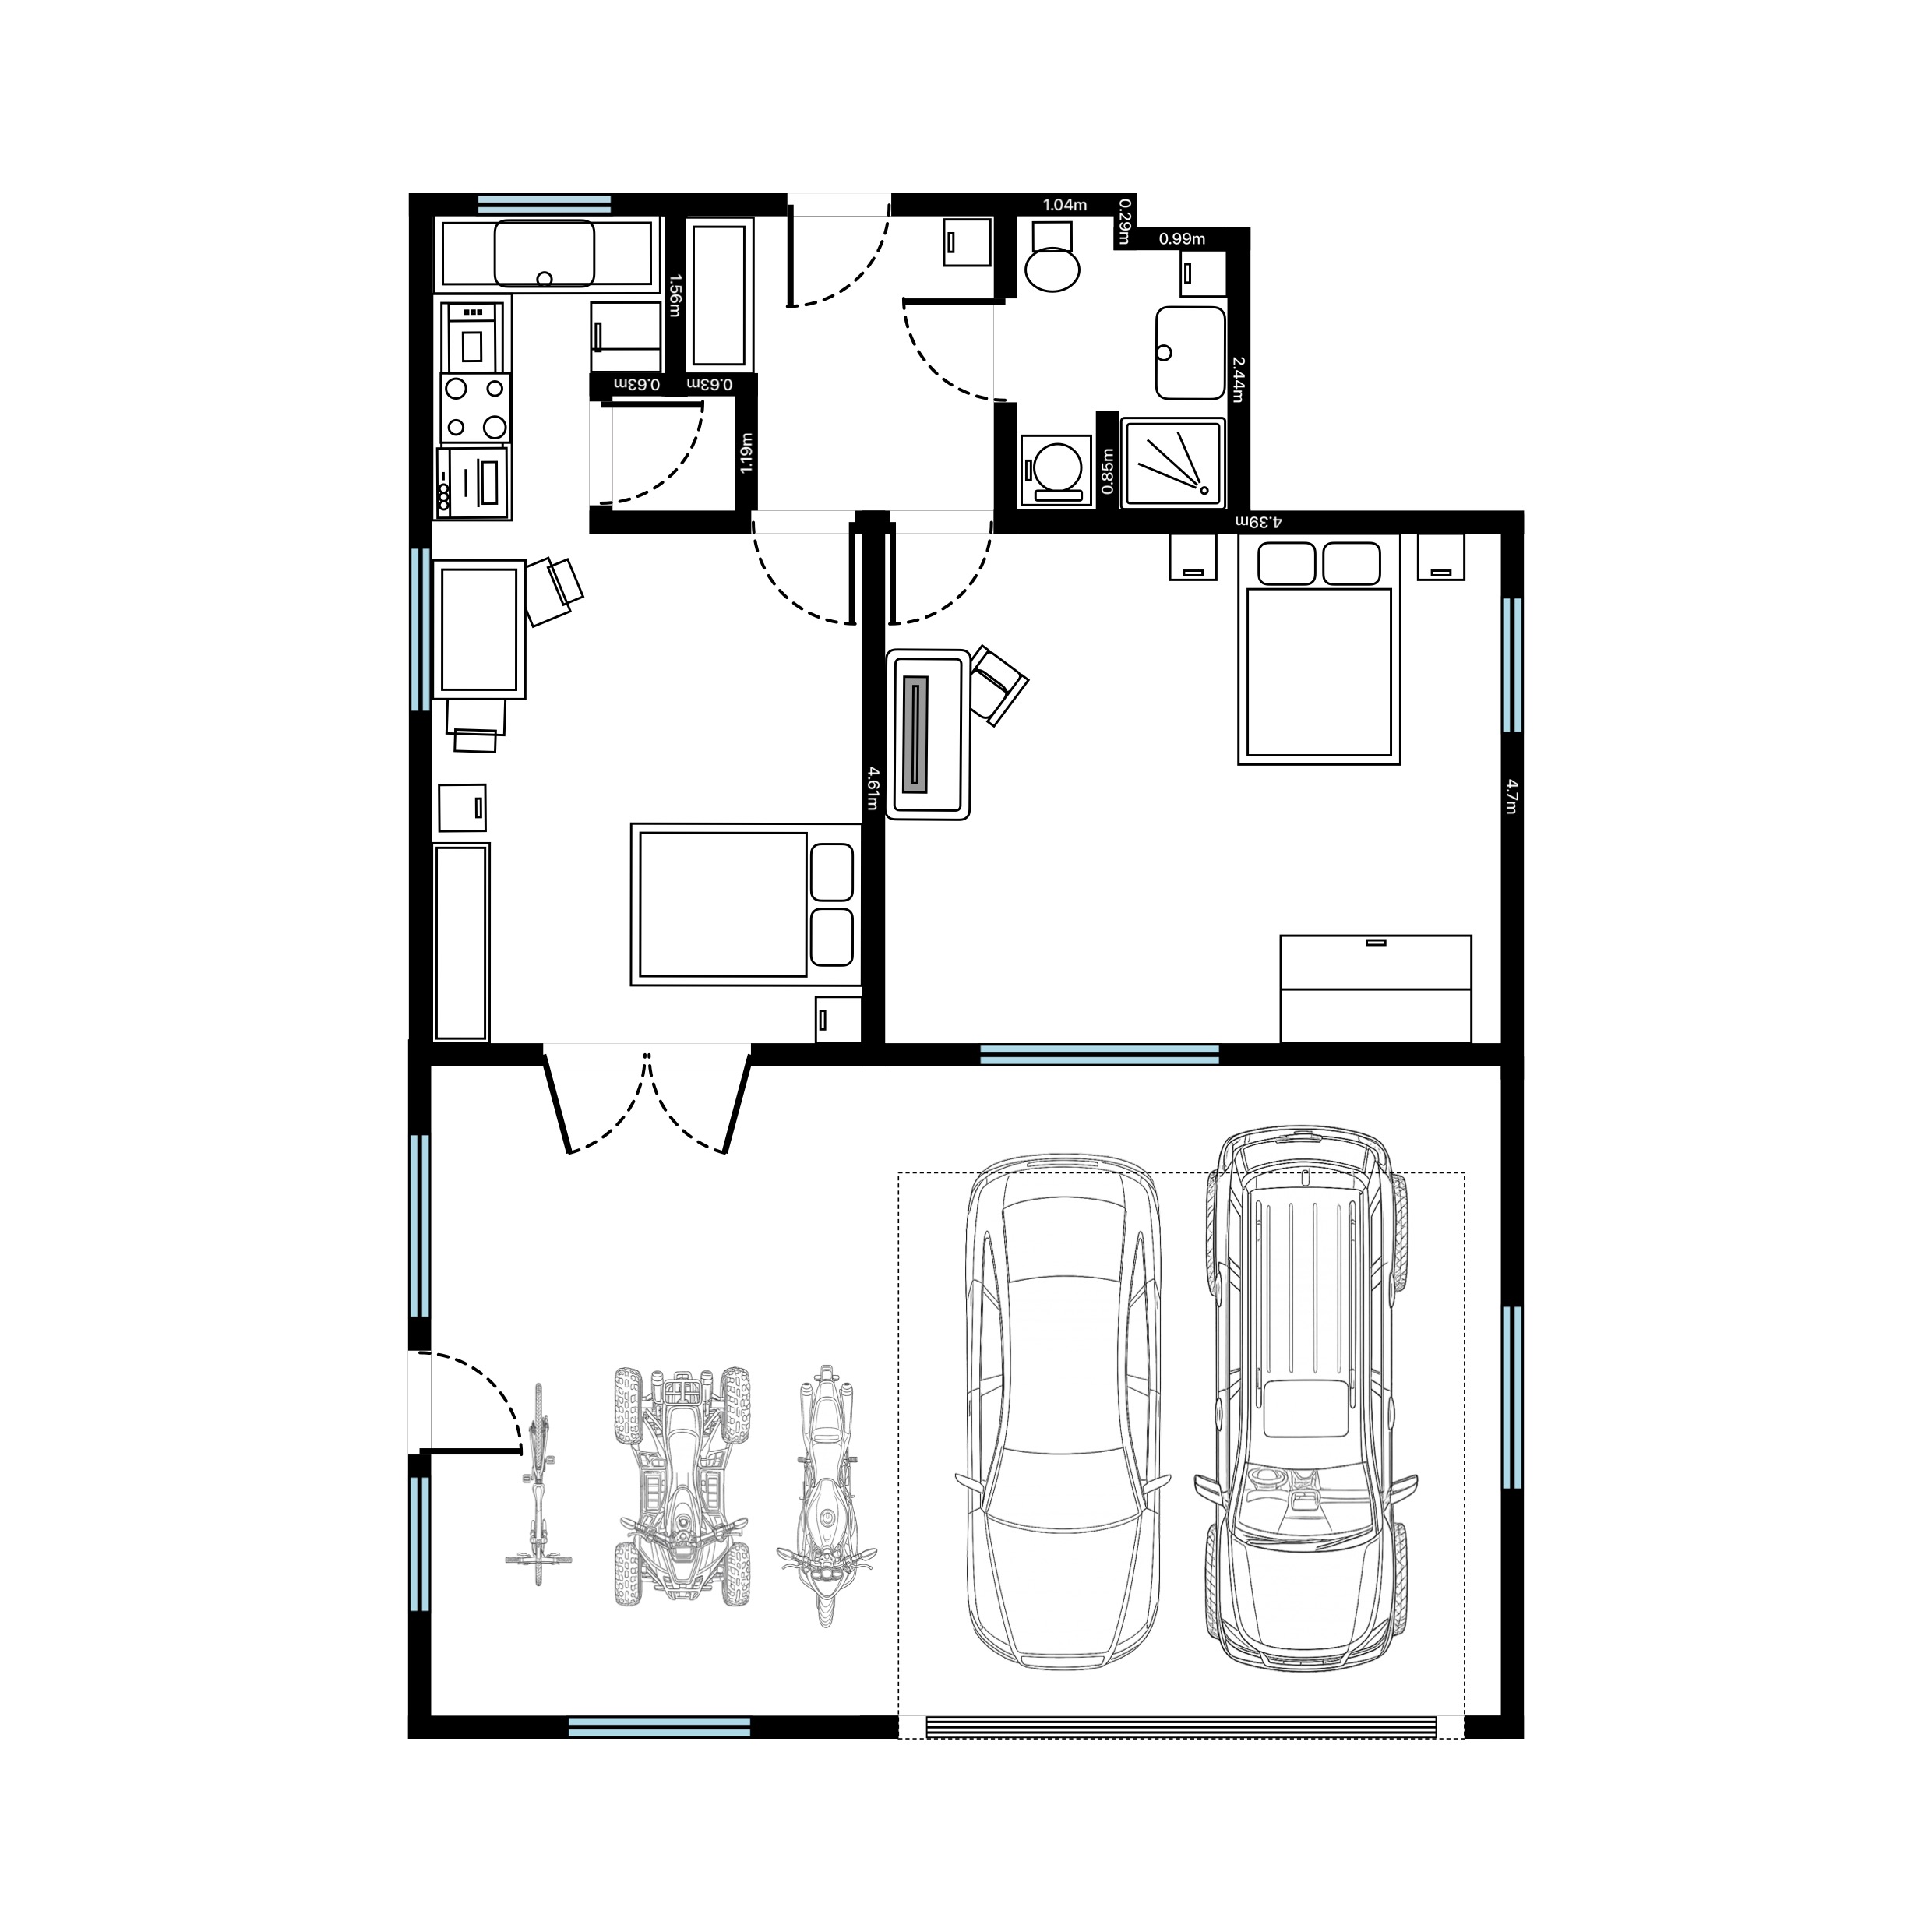
A bathroom is the smallest room you will ever plan and the least forgiving. A few centimetres decide whether the door clears the basin, whether there is legal clearance in front of the WC, and whether an electric shower or downlight can even sit where you want it. UK guidance is specific: Approved Document M asks for 750 mm of clear space in front of a WC in a visitable dwelling, and BS 7671 divides the room into electrical zones that dictate what can be installed where. A measured floor plan settles all of it before a single pipe moves. This guide shows how to draw a clear, to-scale bathroom floor plan on your iPhone or iPad - the walls, the fixtures, the clearances, the zones, and a tidy export to hand to a fitter, electrician or client.
Start with an accurate shell
Everything in a bathroom is tight, so the room has to be the right size first. On a Pro device, scan the room with LiDAR and RoomPlot detects the walls, door and window automatically. On any other device, pick a room-shape template - Square, Rectangle, or one of the four L-shape orientations - and drag the walls to your measured lengths. Snapping and the 20 pt grid keep the corners square, and you can type an exact length for any wall so the plan matches your tape to the millimetre.
Measure at fixture height, not just at skirting level - old walls lean, and a bath that fits at the floor can bind at the rim. Record the ceiling height too: it matters for the electrical zones later, and for whether a shower over the bath has headroom. Drop a note or a photo onto the plan for anything you cannot draw, like a boxed-in stack or an access panel that must stay reachable.
Tip. Note the soil stack and the existing waste run before you place anything. Keeping the WC and basin on the same wet wall, or two adjacent walls, is the single biggest way to keep a bathroom affordable - moving drainage is the expensive part. A WC waste also needs a continuous fall to the stack, so the further the pan moves, the more floor build-up you need.
Place the fixtures to real sizes
Open the object library and switch to the Bathroom category - one of 18 categories in RoomPlot's 376-object catalogue, with 31 bathroom items drawn as real vector geometry rather than flat icons. Drop a bath, a shower tray, a WC, a basin and a vanity, then size each one to the product you are actually fitting. Typical UK sizes to plan around:
- Bath - the standard is 1700 × 700 mm; compact baths go down to around 1400 × 700 mm for small rooms.
- Shower tray - common squares are 800 or 900 mm; rectangular trays run from 1000 × 800 mm up to 1700 × 700 mm walk-in formats.
- Basin - widths from roughly 300 mm (cloakroom) to 600 mm+, projecting 300-500 mm from the wall.
- WC - most close-coupled pans project 600-700 mm from the wall; check the exact figure on the spec sheet, because 50 mm here often decides the whole layout.
Resize each object with the sliders or by typing exact dimensions, rotate and mirror a basin or WC so the tap and the soil connection sit on the right side, and recolour the fill and outline to separate existing fixtures from proposed ones on a refurbishment plan.
Check the clearances
This is where a bathroom is won or lost. Turn on dimensions and read the gaps in front of every fixture, because that is the space a person actually needs. The figures below reflect common UK planning guidance and Approved Document M; exact requirements depend on the project, so confirm with building control where the work is notifiable:
- In front of the WC - 600 mm of clear floor is the practical minimum, and Approved Document M asks for 750 mm in a visitable dwelling's entrance-storey WC. Allow at least 200 mm each side of the pan centreline - 450 mm per side where the WC is approached head-on.
- In front of the basin - leave 700 mm so someone can lean in to the mirror, with around 800 mm of elbow room side to side.
- Alongside the bath - keep roughly 700 mm of standing space for getting in, out and drying off.
- The door swing - watch the arc on the plan and make sure it does not foul the WC or the basin. An inward door that hits a fixture is the classic small-bathroom mistake; the swing arc shows it instantly. If it will not clear, plan an outward opening or a sliding door.
Clearances can overlap - the space in front of the WC and the basin can share the same patch of floor, because nobody uses both at once. RoomPlot stamps on-plan dimensions and a scale bar in metric or imperial, so you can confirm every clearance adds up on screen rather than discovering a clash on fitting day. Add a zone label and the area is calculated automatically.
Mark the electrical zones
Bathrooms are the most tightly regulated rooms electrically, and the rules map directly onto your floor plan. BS 7671 (the IET Wiring Regulations, Section 701) defines zones around water:
- Zone 0 - inside the bath or shower tray. Only 12 V SELV equipment rated IPX7 is permitted.
- Zone 1 - the footprint of the bath or shower up to 2.25 m above floor level. Fittings need at least IPX4 (IPX5 where water jets are used for cleaning).
- Zone 2 - a 600 mm band beyond Zone 1, again IPX4 minimum. Shaver units to BS EN 61558-2-5 are allowed here; standard 13 A sockets are not permitted in any zone.
Sketch the zones straight onto the plan: recolour a copy of the bath and shower outlines, or add a note pinned to each luminaire and the shower isolator. Bathroom circuits also need 30 mA RCD protection, and most bathroom electrical work is notifiable - it must be carried out or certified by a competent person, so treat the plan as the brief for your electrician, not a substitute for one. If the project also involves fire detection, our guides to fire and security plans cover symbol libraries for detectors and call points.
Export and hand it over
When the layout reads right, export it. Save a single-page PDF or a PNG (A4, 300 dpi or 1080p) for a quick share, or build a multi-page Report PDF with your logo and an area summary for a client-ready proposal. Need it in CAD? Export DXF and the geometry opens in any package at real-world size, so the fitter can overlay first-fix pipework. Working across a whole property, keep each storey in one multi-floor project and sync it between devices with iCloud Sync. For the room next door, see our guide to drawing a kitchen floor plan, or browse the full set of RoomPlot guides and plan your next bathroom today.