For building surveyors and measured-survey professionals, the floor plan is the deliverable - and the bottleneck. A tape, a clipboard and a redraw back at the office can swallow an afternoon per property, and every transcription is a chance to introduce an error. This guide shows how to capture a measured building survey on site with iPhone LiDAR (accurate to roughly 1-3 cm at typical room ranges), pick the right measurement basis for the brief, and export straight to DXF for CAD or a branded PDF survey report - all from the device already in your pocket.
Why surveyors need a faster way to capture floor plans
A measured survey lives or dies on two things: accuracy and turnaround. Manual measuring is reliable but slow, and every hop from a paper sketch to a CAD drawing is a chance to introduce an error. When you are surveying a whole property - several rooms, multiple floors, awkward returns and recesses - the small mistakes compound, and the redraw is where the day disappears.
The professional framework has also tightened. The RICS professional standard Measured surveys of land, buildings and utilities (3rd edition, reissued April 2024) moved the profession from scale-based specifications to survey accuracy bands - scale-independent metadata that states what accuracy the client actually needs and what the deliverable must contain. In practice that means your workflow should record not just the geometry but how and when it was captured, and to what tolerance.
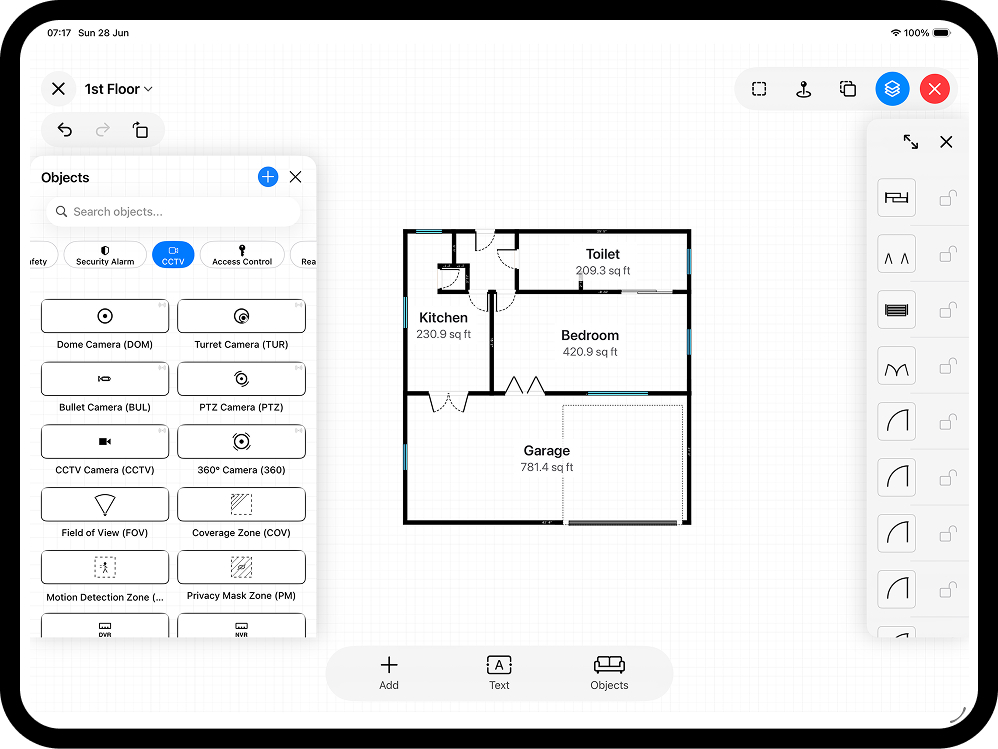
The shift in recent years has been towards capturing the geometry on site, in a form you can edit and export immediately. RoomPlot runs entirely on an iPhone or iPad, so the plan you walk out with is already most of the way to a finished drawing. There is no laptop on the bonnet of the car and no separate CAD session just to tidy up a sketch.
Know your measurement basis: GEA, GIA, NIA and IPMS
Before you measure anything, agree the measurement basis with the client - the wrong convention can produce a floor area figure that differs by 20-30% from what the recipient expects. In the UK the landscape in 2025-26 looks like this:
- IPMS (International Property Measurement Standards). RICS mandated IPMS for offices (from January 2016) and residential (from May 2018) via RICS property measurement, 2nd edition. That document was archived in June 2025 while RICS prepares an updated code; in the interim, members are directed to use IPMS: All Buildings or the Code of Measuring Practice as appropriate - and to state clearly which basis was used.
- GEA, GIA and NIA from the RICS Code of Measuring Practice (6th edition) remain the working currency for planning applications, building insurance and much valuation work.
RoomPlot reports the areas it measures from your plan geometry rather than computing a particular published standard, so apply the convention your brief requires and record it on the drawing and in the report. When rules or definitions are unclear for a specific instruction, confirm with the client or a suitably qualified colleague.
Capturing an accurate measured survey on site
RoomPlot gives you two ways to capture a space, and most surveyors use both depending on the job:
- LiDAR AR scanning on a Pro iPhone or iPad. Walk the room and the app detects walls, doors and windows automatically, building the geometry as you go. Independent testing of Apple's LiDAR sensor consistently finds accuracy in the region of 1-3 cm at ranges under about 3 m - comfortably within sketch-plan and area-schedule tolerance for most instructions, though you should still verify critical dimensions by hand.
- Manual drawing with smart snapping for spaces where you would rather key in known dimensions - or where a device without LiDAR is all you have to hand. Draw the walls and enter the measurements directly; snapping keeps walls square and aligned.
Whichever route you take, you work in metric or imperial units throughout, so you stay in the convention your client expects, and you can switch between 2D and 3D editing to check that openings and heights read correctly.
Cleaning up the plan: dimensions, areas and multi-floor
A raw capture is rarely the final drawing, so RoomPlot lets you edit the full geometry after scanning: move, resize or delete walls, doors, windows and openings until the plan matches what you saw on site. On-plan dimensions make the drawing read like a proper survey rather than a sketch.
For area schedules, RoomPlot detects rooms automatically and calculates each room area for you. Because the app handles both metric and imperial, your area figures come out in the unit your client works in - just remember to state the measurement basis you applied, as above.
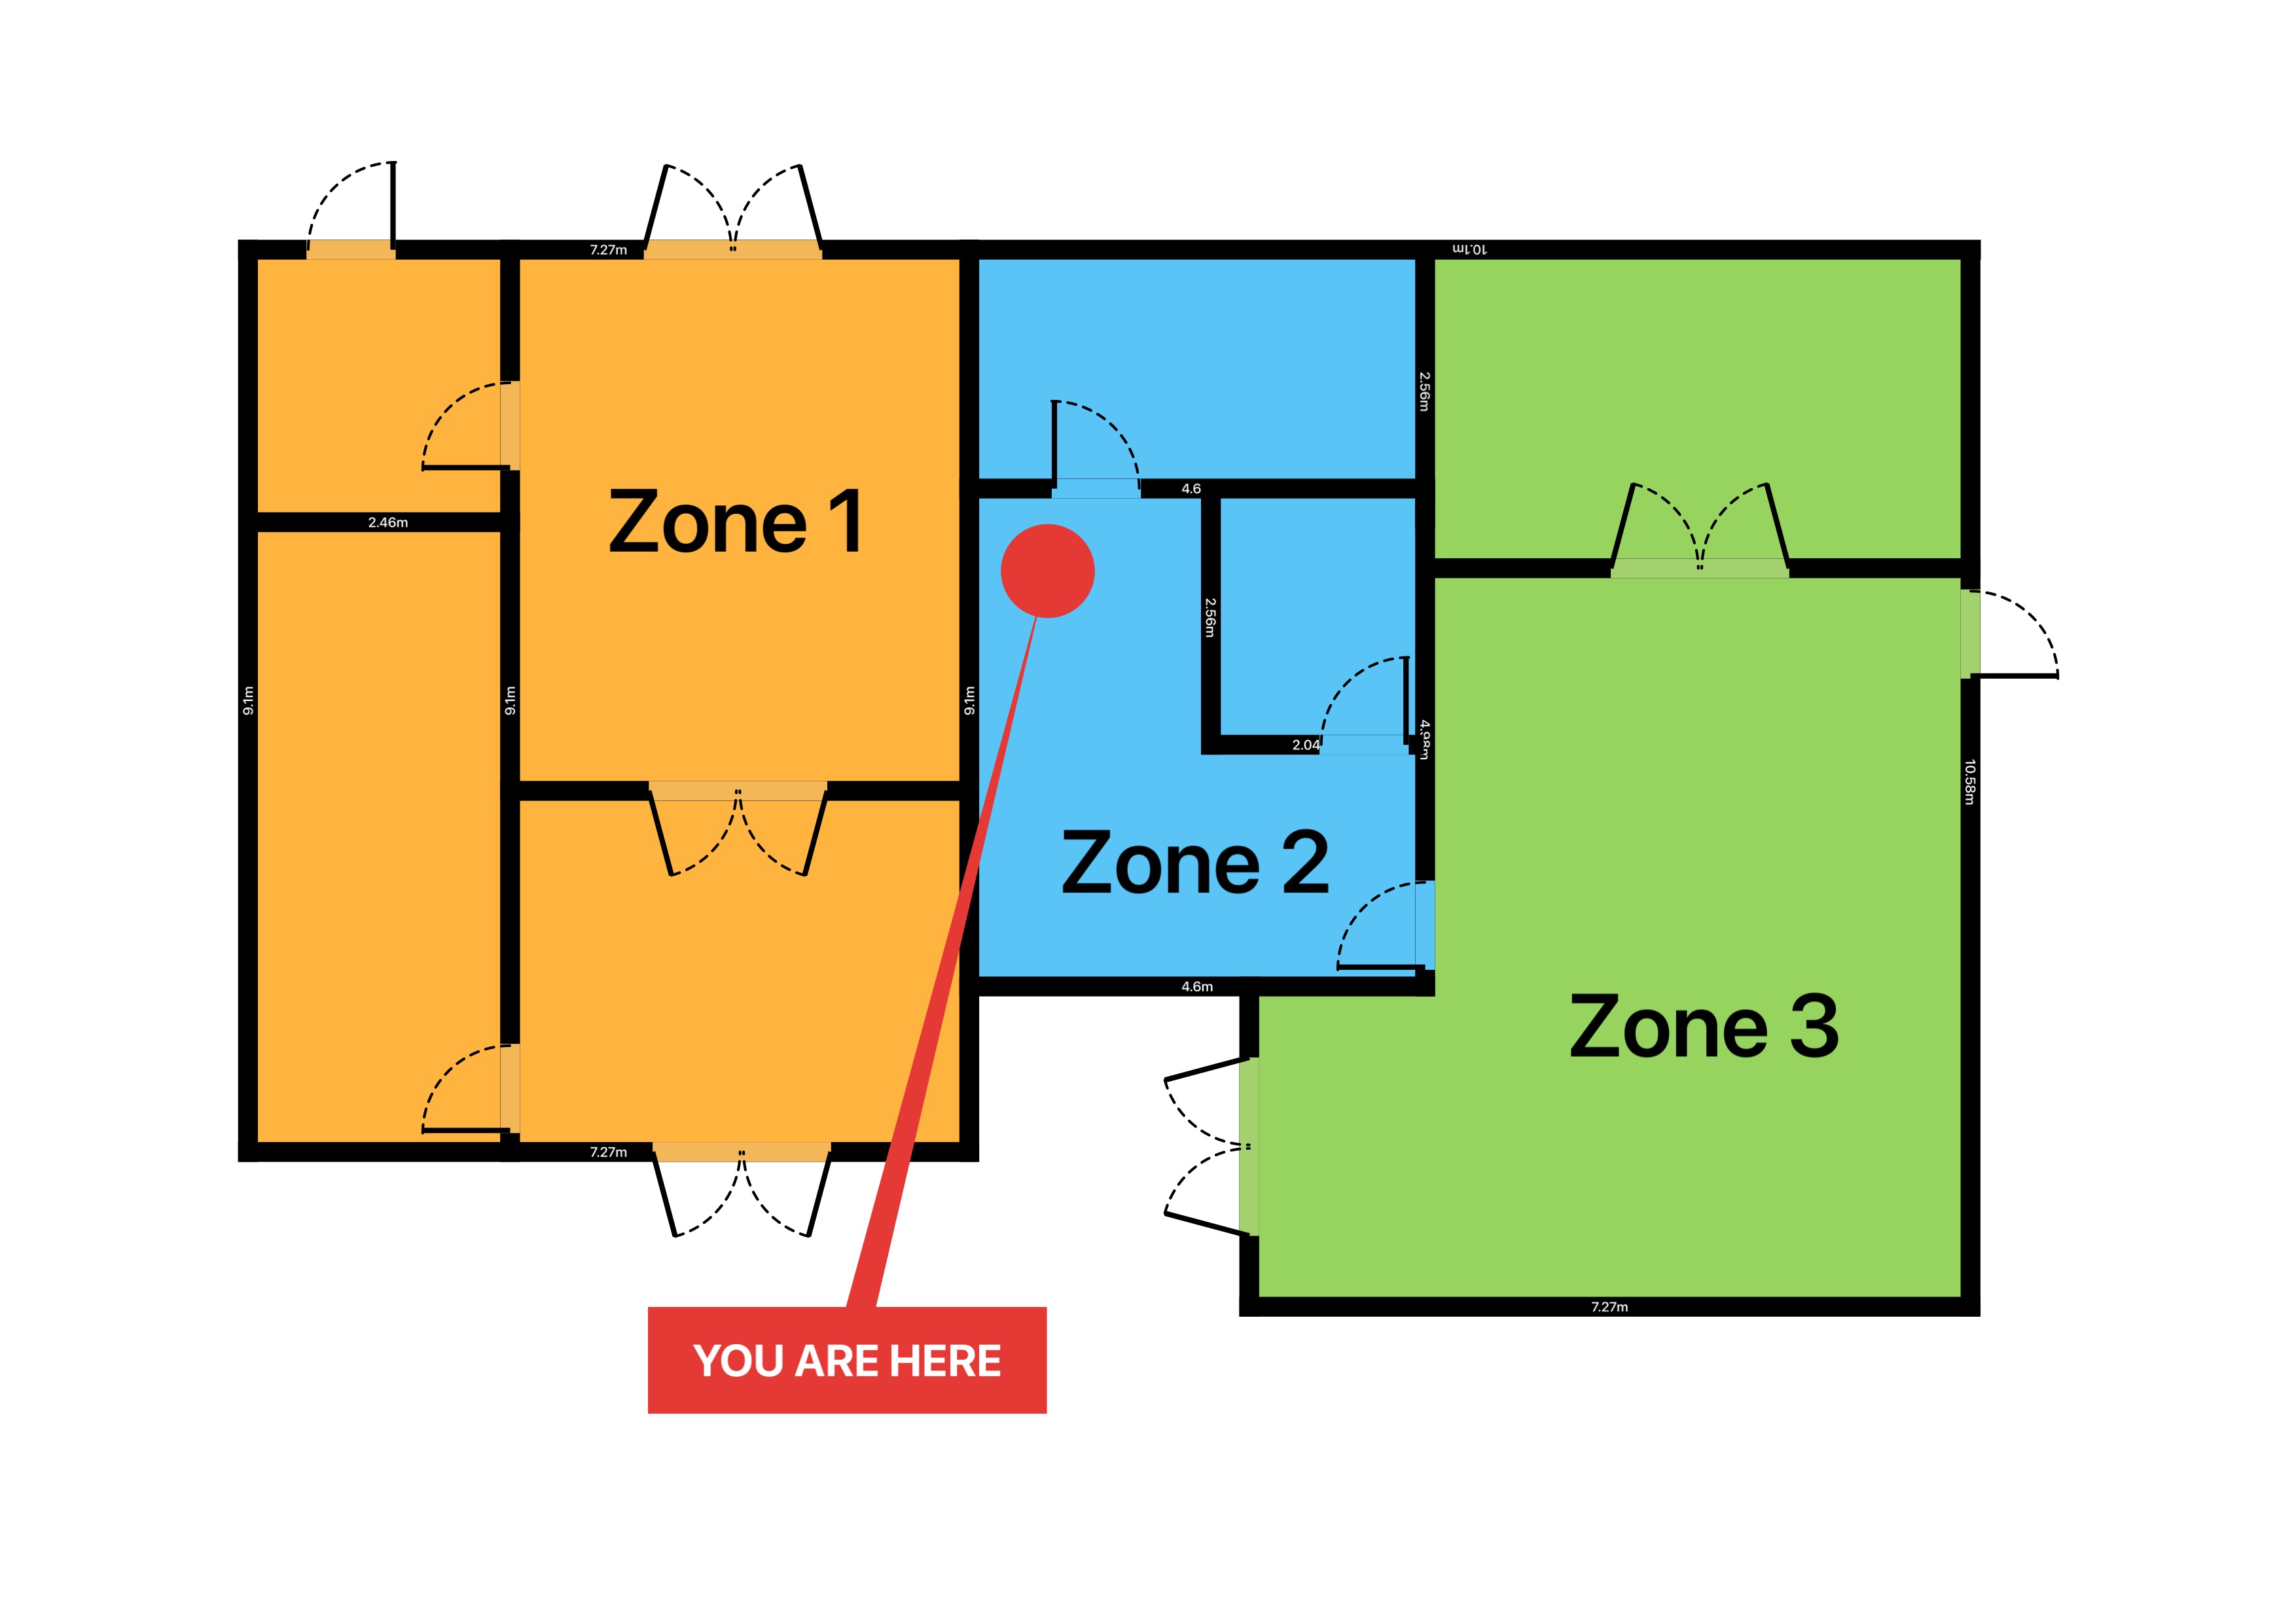
Surveying a house or a block? RoomPlot supports multi-floor projects: add a floor for each level and switch between them as you work. A North marker orients the drawing correctly for the record - useful for daylight, planning and right-of-light discussions. And because observations matter as much as geometry, you can pin notes, photos and voice memos to the plan so defects and caveats sit exactly where you found them. If the instruction touches fire or security - an HMO plan, for example - the built-in symbol libraries (fire safety, security, CCTV coverage cones, access control) and zone plans let you produce those drawings from the same survey; see our related guides via the articles index.
Exporting to CAD and branded survey reports
The export options are where on-site capture turns into a deliverable your office and your client can use:
- DXF to CAD. Export the plan as DXF and open it in your CAD package to finish or annotate - rare in a mobile tool, and the reason many surveyors keep RoomPlot in the workflow rather than redrawing from scratch.
- Branded PDF survey reports. Produce a clean, dimensioned single-page PDF, or a multi-page branded report that carries your company details alongside the plans. Notes, photos and voice memos captured on site flow through with the project, so observations sit alongside the drawing.
- Images and 3D. Export PNG or JPG at A4, 300 dpi or 1080p for quick sharing, or a USDZ 3D model when a client wants to see the space rather than read a drawing.
With the premium tier, projects sync per-plan across your devices via iCloud Sync (Settings > iCloud Sync), so you can scan on an iPhone in the field and continue editing on an iPad back at the desk without re-exporting anything. A free tier lets you trial the full capture-and-draw workflow before committing.
A practical on-site workflow
Pulling it together, a typical measured-survey visit with RoomPlot looks like this:
- Confirm the brief and the measurement basis (IPMS, GEA/GIA/NIA or client-specific) before you travel.
- Set the project up and capture each room by LiDAR scan or manual draw, working floor by floor.
- Set the North marker and check a control dimension or two with a laser measure.
- Tidy walls and openings, confirm the auto-calculated room areas, and name each room.
- Drop in photos and a voice memo for anything that needs flagging.
- Export DXF for CAD and a branded PDF report for the client - stating the measurement basis and capture date.
For more on the fundamentals, see our guide on how to create a floor plan and the walkthrough on how to measure a room, or browse more guides.
Frequently asked questions
How accurate are RoomPlot floor plans for a survey?
LiDAR capture detects walls, doors and windows directly from the space; published tests of Apple's LiDAR sensor typically report 1-3 cm accuracy at room ranges. You can refine any element afterwards with on-plan dimensions and snapping, or key in known measurements by manual drawing. As with any measured survey, sense-check critical dimensions on site and record the accuracy your client specified - the RICS measured-surveys standard expects the accuracy band to be agreed and documented.
Does RoomPlot output IPMS or GIA areas?
RoomPlot calculates room areas automatically from the plan geometry. It does not compute a specific published standard, so apply the IPMS or Code of Measuring Practice convention your brief requires and state it on the deliverable.
Can I get my plans into CAD?
Yes. RoomPlot exports DXF, which opens directly in standard CAD packages, so you can finish, annotate or merge the plan with other drawings.
Does it handle multi-floor properties?
It does. RoomPlot supports multi-floor projects - add a floor per level and switch between them as you survey the building.
Do I need a Pro device for LiDAR?
LiDAR scanning needs an iPhone or iPad Pro with a LiDAR sensor. On other devices you can still produce accurate plans by drawing manually with smart snapping and entering measurements.
Ready to cut the redraw out of your measured surveys? Capture your next property with RoomPlot, generate dimensioned plans with automatic room areas, and export straight to DXF and a branded PDF report - all from the device already in your pocket.