
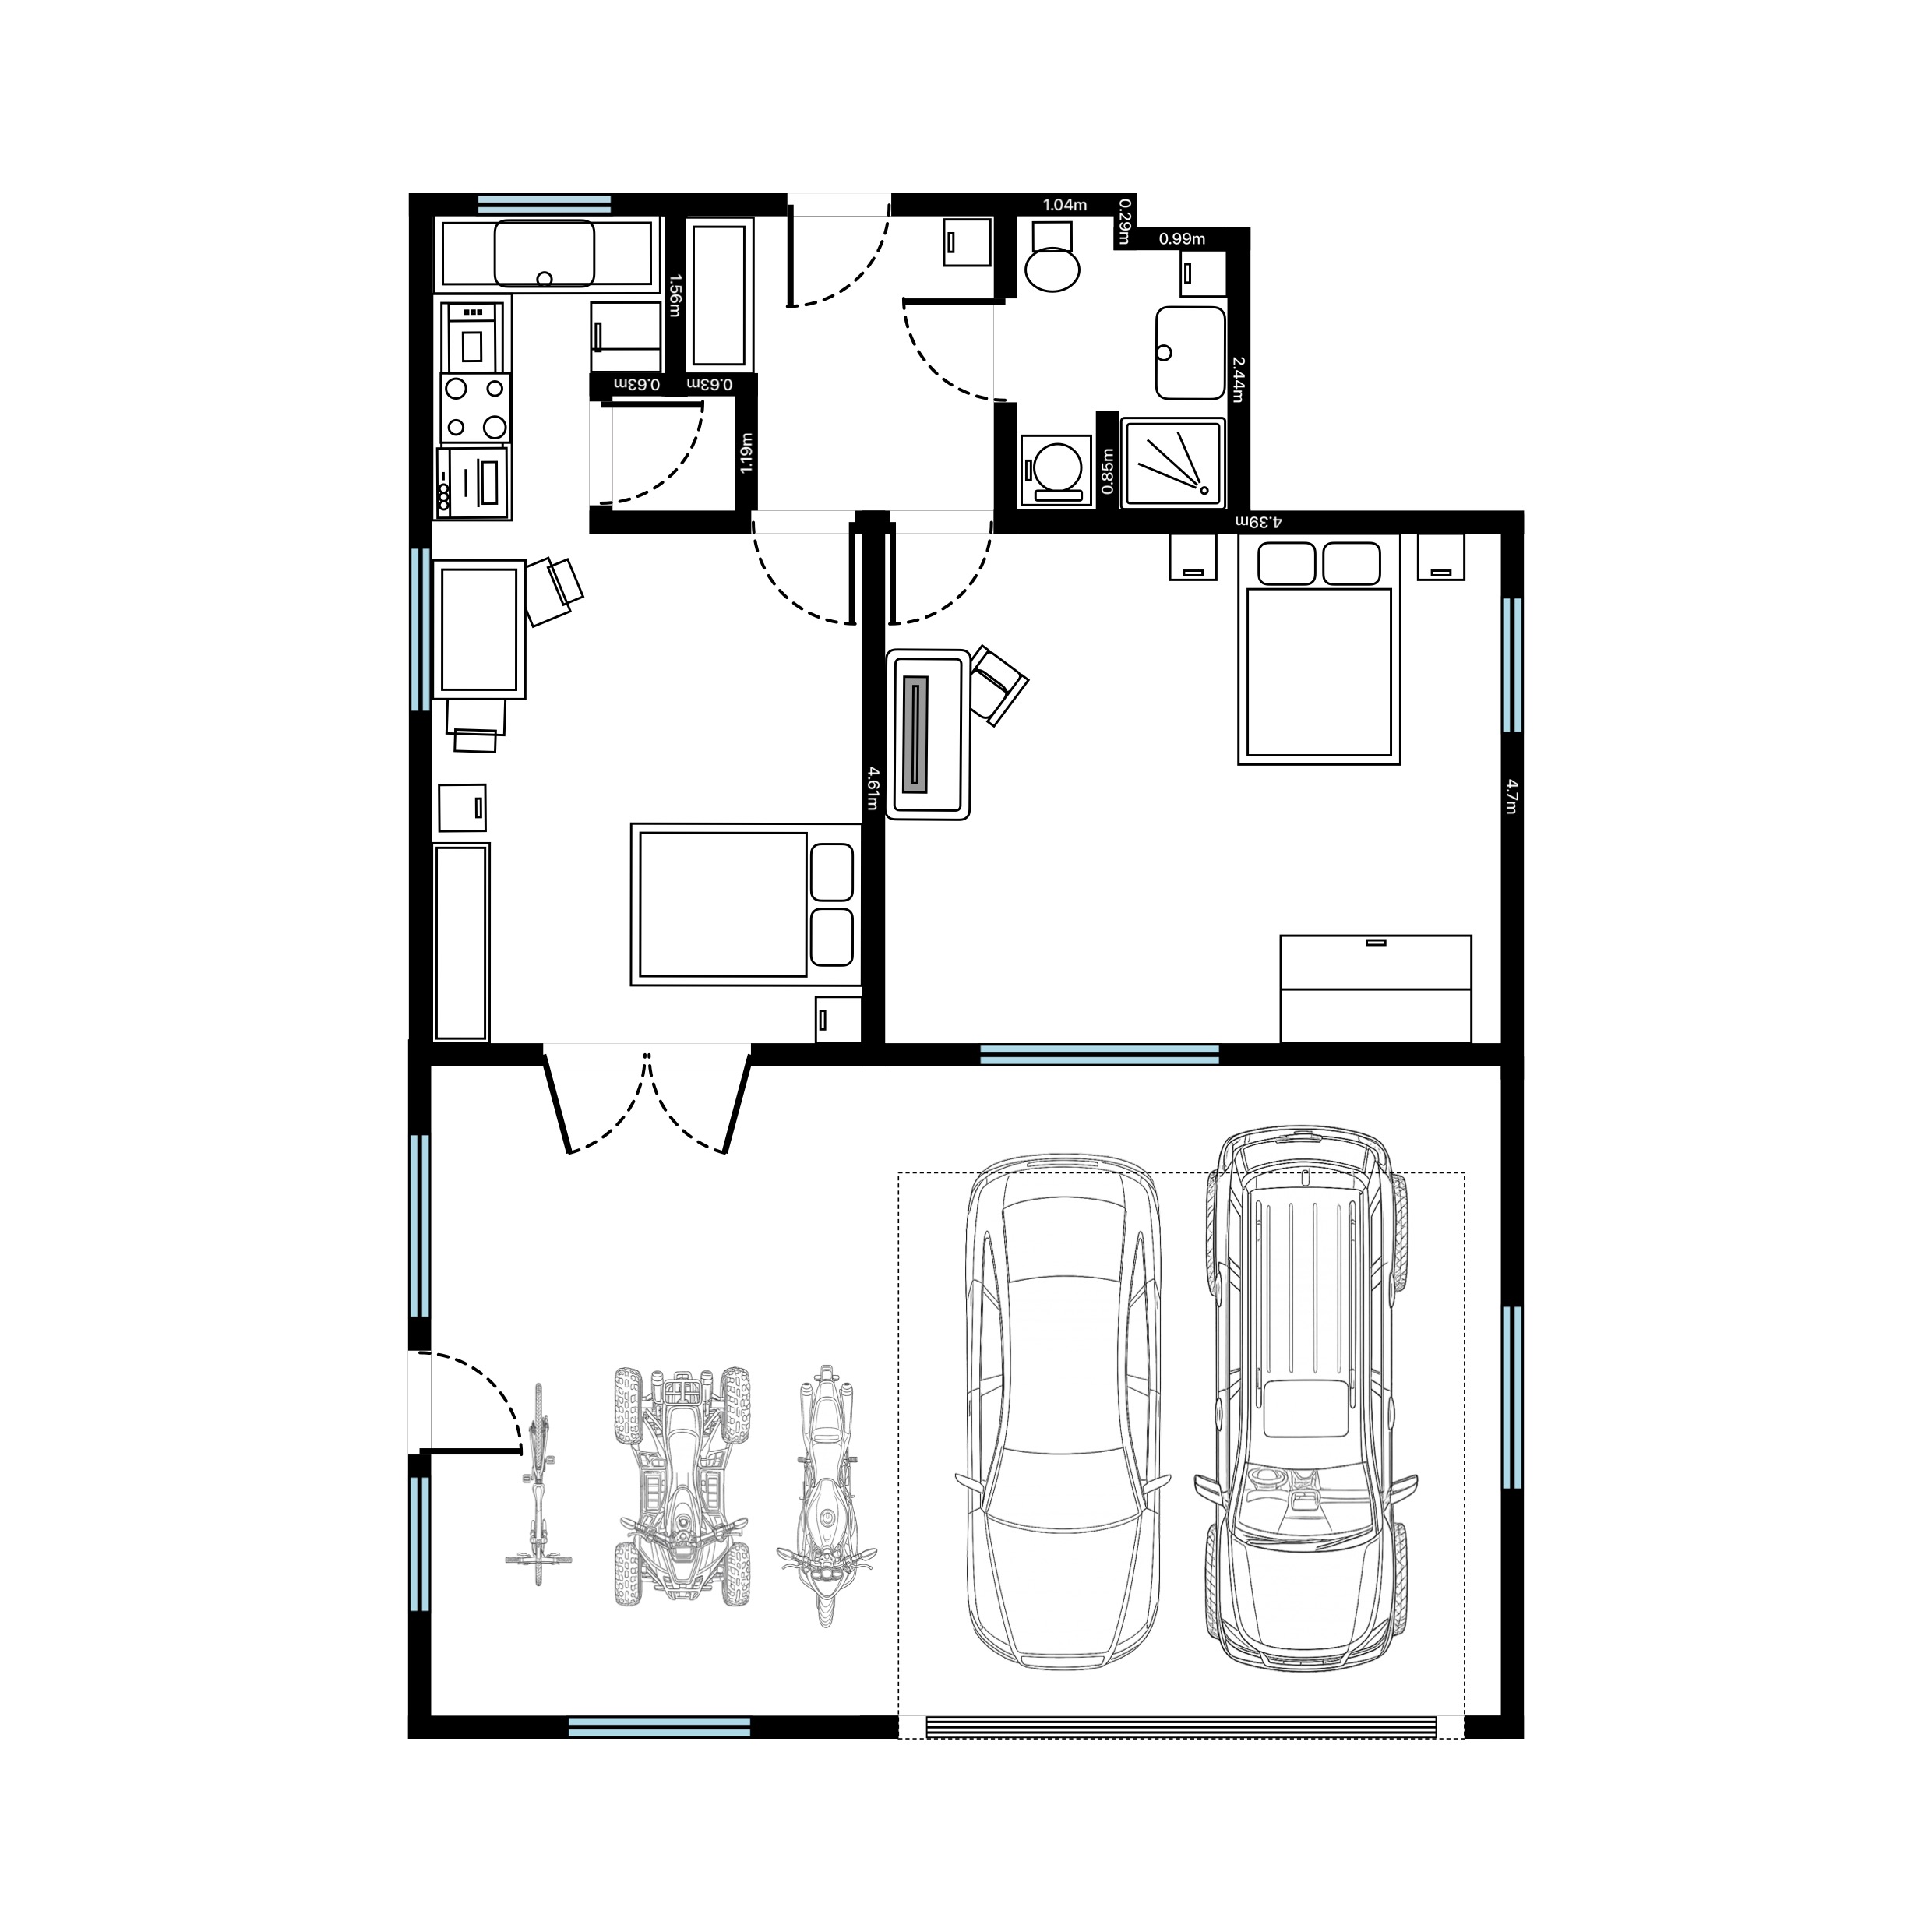
Every interior design project starts with the same question: what are we actually working with? Before you specify a single sofa or pick a paint colour, you need an accurate, to-scale base plan of the space. This guide walks through how to create floor plans for interior designers - capturing the room in minutes, choosing the right drawing scale, space-planning with the clearance figures professionals actually use (a 36 in / 90 cm main walkway, 14-18 in between sofa and coffee table), and turning the result into a branded deliverable your client can sign off.
Why the base plan matters more than the mood board
A beautiful scheme that does not fit the room is wasted effort. A walkway that pinches below 30 in (76 cm), a console that blocks a radiator, an 8x10 rug that swims in the space - these are dimension problems, not taste problems, and they are far cheaper to catch on a plan than after delivery day. An accurate floor plan is the shared reference that keeps your concept, your tradespeople, and your client all talking about the same room.
Measuring by hand with a tape and a notepad is slow, error-prone, and easy to get wrong on the awkward angles and out-of-square corners that older properties love. A small mistake in an alcove ripples through every layout decision that follows - which is why professional practices commission measured building surveys before any significant refit. For most residential interiors work you do not need a survey team: the goal is simply to capture the shell once, accurately, and then spend your creative energy on the design rather than on re-measuring.
Choose the right scale for an interiors plan
Interior design drawings sit at larger scales than whole-building architecture, because furniture and joinery need to read clearly:
- 1:50 is the workhorse scale for room layouts and furniture plans - detailed enough to show door swings, fitted joinery, and individual pieces, but compact enough for an A3 or A4 sheet. In imperial practice the close equivalent is 1/4 in = 1 ft.
- 1:100 suits a whole floor or small property overview where you want context rather than detail.
- 1:20 is for detail drawings - a kitchen run, a wardrobe elevation, a bespoke joinery unit.
Because RoomPlot stores the plan at true real-world dimensions, you are not locked to one scale at capture time - you choose the presentation size at export, and the on-plan dimensions keep the drawing honest either way.
Capture an accurate base plan in minutes
RoomPlot gives you two ways to capture a room, and you can mix them on the same project:
- LiDAR AR scan. On a Pro iPhone or iPad, walk the room and let the scanner detect walls, doors, and windows automatically. A whole property can be captured room by room rather than one space at a time.
- Draw it manually. No LiDAR device, or working from a survey you already have? Draw walls directly with smart snapping and enter exact lengths. Either way you get a true-to-scale plan.
Once the shell is captured, you are not locked in. You can edit walls, doors, windows, and openings after scanning - move, resize, rotate, add, or delete any element - so a slightly-off scan or a planned knock-through is quick to correct. Undo and redo cover every step, and room areas are calculated automatically, so you have each space's floor area without reaching for a calculator. Multi-floor projects let you add and switch between storeys for whole-home schemes, and a North marker on the plan records orientation - useful when you are arguing for the reading chair by the west-facing window.
While you are on site, attach notes, photos, and voice memos directly to the plan: the socket that needs moving, the radiator you photographed, the client comment you dictated on the stairs. It all stays pinned to the drawing instead of scattered across your camera roll.
Space-planning clearances designers actually use
With a true-to-scale shell in front of you, layout decisions become measurable. These are the widely used rule-of-thumb clearances in residential space planning - check them against the room on the plan before anything is ordered:
- Main walkways: 36 in (about 90 cm) minimum through a room; 42 in feels generous. Secondary routes between two pieces of furniture can drop to 30 in (76 cm).
- Sofa to coffee table: 14-18 in (35-45 cm) - close enough to reach a drink, far enough for knees.
- Conversation distance: keep facing seats within roughly 8 ft (2.4 m) of each other or the room stops feeling sociable.
- Dining: allow at least 36 in (90 cm) from table edge to wall so chairs pull out, and around 44 in (112 cm) where people need to walk behind a seated diner.
- Kitchens: NKBA planning guidelines recommend a 42 in (107 cm) work aisle for one cook and 48 in (122 cm) where two cooks work.
- Bedrooms: keep about 30 in (76 cm) of circulation on each open side of the bed, and 36 in at its foot if a wardrobe or dresser faces it.
- Rugs: size the rug so at least the front legs of sofas and chairs sit on it, choose one 6-8 in wider than the sofa each side, and leave roughly 18 in (45 cm) of bare floor between rug and wall so the room reads framed, not carpeted.
None of these are law - they are comfort standards, and a skilled designer breaks them deliberately, not accidentally. The plan is what tells you which one you are doing.
Test the layout with real-size furniture before you move a thing
This is where a floor plan earns its keep for an interior designer. Instead of dragging an actual sofa across a room to see if it fits, you test the idea on the plan first. RoomPlot's symbol libraries place pieces at real-world sizes, so a three-seater takes up exactly the footprint it will in the room - not a generic rectangle that flatters the space.
From there you can:
- Drop furniture and fixtures onto the plan and slide them around until the circulation clears the numbers above.
- Resize objects to match the specific piece you are sourcing, so the plan reflects the real specification, not a placeholder.
- Multi-select a group of pieces and move or rotate them together when you are trialling a whole zone.
- Flip between 2D and 3D to sanity-check heights and sight lines, not just footprints.
Because every piece is to scale against a to-scale room, the layout you sign off on screen is the one that will actually work on site. For a step-by-step on getting that first drawing right, see our guide on how to create a floor plan.
Colours, labels, and zone plans that read at a glance
A working plan should communicate, not just measure. RoomPlot's zone plans let you give each area its own name, colour, and label, so a scheme reads instantly: living in a warm neutral, kitchen in a cooler tone, a study picked out in its own shade. Styled zone labels keep room names clean and consistent across the drawing, and you can match the plan's palette to the scheme itself.
These choices are not just decoration. Colour-coded zones help a client understand the flow of a home before they have read a single dimension, and they make your presentation feel considered rather than technical. Labels and notes let you flag the things you want to draw attention to - the feature wall, the proposed reading nook, the spot for the statement light.
Present to clients and export a professional deliverable
When the layout is settled, the plan becomes a deliverable. RoomPlot produces branded PDF reports - single page or multi-page - carrying your studio details, so what lands in the client's inbox looks like it came from your practice, not a generic app. You control what the report includes, and you can present in 2D or 3D to suit the moment: a clean 2D plan for the technical conversation, a 3D view to help a client picture the space.
- PNG or JPG images at A4, 300 dpi, or 1080p for proposals, presentations, and printed boards.
- PDF reports - a single clean sheet or a multi-page branded report per project.
- DXF export to hand a precise CAD drawing to an architect, joiner, or contractor.
- USDZ 3D to share an interactive model of the space.
With iCloud sync switched on (Settings > iCloud Sync, a premium feature you enable per plan), you can scan on an iPhone on site and continue editing on an iPad back at the studio. Browse more guides for tips on getting the most out of reports and exports.
A faster path from empty room to signed-off scheme
Pulling it together, the workflow for floor plans for interior designers is short: capture the shell accurately with a LiDAR scan or a manual draw, correct anything that needs it, test the layout with real-size furniture against proven clearance figures, colour and label the zones so the plan speaks for itself, then export a branded PDF or high-resolution image to present. The base plan stops being a chore and becomes the tool that carries the whole project.
Ready to draw your first plan? Download RoomPlot on your iPhone or iPad - there is a free tier to start with - scan or sketch a room, and have a client-ready floor plan in your hands before the kettle has boiled.