Long before apps and laser measures, every floor plan started the same way: a pencil, a tape measure, and a sheet of graph paper. Drawing by hand is still a genuinely useful skill - it is how most site sketches begin, it costs nothing, and it forces you to actually look at the building. This guide walks through the full process, from measuring the space to a tidy scaled drawing, and then shows how to turn that paper sketch into a digital plan you can edit and share.
What you need
- Graph paper. The printed grid does the scaling for you - one square equals a fixed real-world distance, so rooms stay in proportion without constant arithmetic.
- A pencil and eraser. Draw lightly first. You will move at least one wall, guaranteed.
- A ruler or straight edge. Freehand walls read as sloppy even when the measurements behind them are right.
- A tape measure. A 5 m or 8 m tape covers most rooms. A helper holding the dumb end speeds things up enormously.
- A clipboard or hard surface if you are sketching on site.
Step 1 - Measure the space
Walk the building first without drawing anything. Note the overall shape, which rooms connect, and anything odd - chimney breasts, bay windows, walls that are clearly not square. Then measure one room at a time: the length of each wall, the width of each door and window opening, and the distance from the nearest corner to each opening. Write measurements directly onto a rough unscaled sketch as you go, next to the wall they belong to.
Professionals use running dimensions: hook the tape in one corner and read off the cumulative distance to each feature along the wall (corner to window at 1.2 m, window ends at 2.1 m, wall ends at 4.3 m) rather than measuring each gap separately. Each reading is independent, so one mistake does not shift everything after it. Our guide to measuring a room covers this in more detail.
Tip. Measure both diagonals of any room you suspect is not square. If the two diagonals differ, the room is a parallelogram rather than a rectangle, and you will be glad you know that before you draw it.
Step 2 - Choose a scale
A scale is the fixed ratio between the drawing and the real building. The two most useful for hand-drawn plans are 1:50 (1 cm on paper = 50 cm in reality - good for a single room with detail) and 1:100 (1 cm = 1 m - good for a whole floor on one A4 sheet). If you think in feet, the classic equivalent is 1/4 inch to 1 foot. On 5 mm graph paper at 1:100, one small square is half a metre, which makes plotting measurements almost mechanical. Write the scale in a corner of the sheet - a plan without a stated scale is just a picture.
Step 3 - Draw the walls
Start with the external outline of the floor, converted to your scale, drawn lightly. Check the outline closes properly: if the last wall does not meet the first corner, a measurement is wrong somewhere, and it is far cheaper to find it now. Then add internal walls, again lightly, working from your corner-to-feature measurements. Only once every wall agrees with the tape do you darken the lines with a straight edge. Use a double line for walls if you want to show their thickness (about 100 mm for a stud partition, 250-300 mm for an external cavity wall).
Step 4 - Add doors, windows and fixtures
Openings use standard conventions, and following them is what makes your sketch readable by builders, agents and architects:
- Doors are a gap in the wall, a straight line for the door leaf drawn from the hinge, and a quarter-circle arc showing the swing. The arc is centred on the hinge and its radius equals the door width.
- Windows are a thin rectangle within the wall line, usually with a line through the middle representing the glass.
- Fixed fittings - kitchen units, baths, WCs, wardrobes - are drawn as simple outlines so anyone reading the plan understands how the room is actually used.
Step 5 - Label and dimension the plan
Name every room, write its key dimensions inside or alongside it, and add the overall external dimensions along at least two edges of the plan. Mark which direction is north if you know it, and add the address and date. These small habits are what separate a sketch you can rely on in six months from one you have to re-survey.
From paper to digital
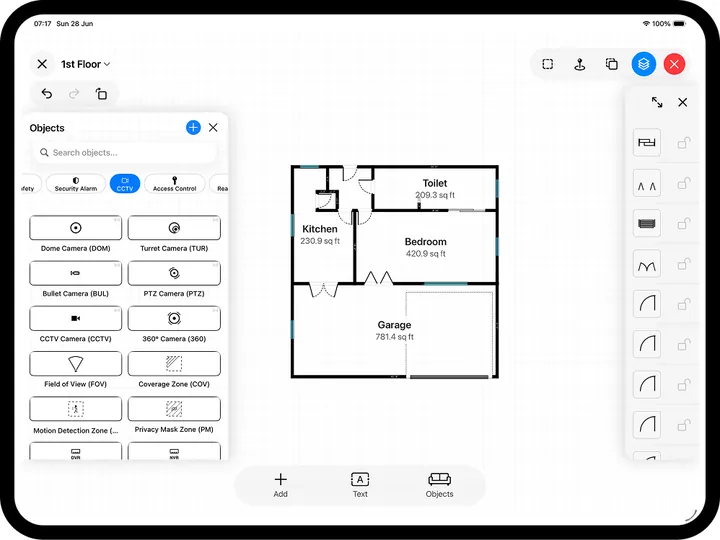
A hand drawing has real limits: you cannot resize a wall without redrawing, you cannot export a PDF, and a coffee ring is forever. The practical workflow for most people is to sketch on site, then redraw digitally. In RoomPlot you can start a floor from a simple room-shape template (square, rectangle or L-shape), then drag walls to match your measured dimensions - snapping keeps corners square, and undo covers your mistakes. On an iPhone or iPad Pro with LiDAR you can skip the tape measure entirely and scan the room instead; see how to make a floor plan without LiDAR for the drawing route on any device.
Drawing by hand teaches you what every plan needs: honest measurements, standard symbols and a stated scale. Once the sketch is done, RoomPlot turns it into a clean, editable plan you can export as a PDF, image or DXF. Download RoomPlot from the App Store and redraw your last paper sketch in minutes.