A fire detection design lives or dies on spacing. Under BS 5839-1, every point on the ceiling must sit within 7.5 m of a smoke detector or 5.3 m of a heat detector - miss that by a metre in one bedroom and the certificate is worth nothing. This guide sets out the current spacing numbers from BS 5839-1:2025, BS 5839-6 and NFPA 72, and shows how to prove smoke and heat detector coverage on a floor plan with RoomPlot before you ever climb a ladder.
The spacing numbers that matter
Detectors do not cover a room the way a light does. Each device type has a nominal radius of protection, and the standards translate that radius into maximum distances between heads and from walls. For a flat ceiling under BS 5839-1 (the UK commercial standard, current edition 2025):
- Smoke detectors: no point on the ceiling more than 7.5 m from the nearest head. On a square grid that works out to heads up to 10.6 m apart and no more than 5.3 m from a wall.
- Heat detectors: no point more than 5.3 m from a head - a grid of up to 7.5 m between heads and 3.75 m from walls. Heat disperses and dilutes faster than smoke, so the radius is deliberately smaller.
- Siting: keep heads at least 500 mm from walls, beams and light fittings, and remember that beams, sloped ceilings and voids all reduce the allowable spacing.
Working to NFPA 72 instead? The commonly listed spacing for spot smoke detectors on a smooth ceiling is 30 ft (9.1 m) between heads, with the annex "0.7 rule" recommending every point on the ceiling fall within 0.7 times that spacing - about 21 ft (6.4 m) - for irregular rooms. The two standards frame the same idea differently, which is exactly why sketching dots on a PDF tells you nothing: you have to draw the coverage, not just the device, so the gaps show themselves.
Place the detector, see the circle
Drop a smoke or heat detector from the Fire Safety symbol library and RoomPlot draws the area it covers as a radial circle centred on the head. Coverage switches on automatically when you place the device, and a blue radio-wave handle lets you drag the radius to match your design. The defaults follow BS 5839 and NFPA 72 style nominal radii: roughly 7.5 m for a smoke detector and 5.3 m for a heat detector, and you can tune any head from 1 m to 15 m.
Domestic and HMO work: grade and category first
In dwellings the governing standard is BS 5839-6, and the design question comes before the spacing question: what grade (how the system is powered) and category (which rooms get detection) does the property need? Common current specifications:
- Grade D1 - mains-powered alarms with a sealed, tamper-proof standby battery - is the typical grade for rented houses and smaller HMOs.
- Category LD2 is the usual minimum for new or materially altered dwellings: smoke detection on the escape routes, a heat alarm in every kitchen, and a smoke alarm in the principal habitable room.
- Category LD1 (detection in nearly every room) is frequently required for licensed HMOs, and larger HMOs of three or more storeys often need a full Grade A panel system designed to BS 5839-1.
- In England, the Smoke and Carbon Monoxide Alarm (Amendment) Regulations 2022 also require landlords to fit at least one smoke alarm on every storey with living accommodation, plus a CO alarm in any room with a fixed combustion appliance (gas cookers excepted).
HMO licence conditions vary by council, so confirm the required grade and category with the local housing authority or a competent fire risk assessor before you quote - then draw that specification onto the plan.
Build the design room by room
- Start from the real plan. Scan with LiDAR or draw the floor by hand with smart snapping, so walls and room sizes are accurate before you place a single head. RoomPlot's auto room areas also flag the large rooms that will need more than one detector.
- Place heads to type. Smoke detectors in circulation spaces, bedrooms and habitable rooms; heat detectors in kitchens and garages where a smoke type would false-alarm.
- Check the overlap. Walk the plan and confirm neighbouring circles touch or overlap, with no floor area left outside a coverage circle - a corridor longer than 15 m between smoke heads is an instant fail.
- Tune the edge cases. Drag a radius down where beams or a sloped ceiling reduce effective spacing, and add a head where an L-shaped room or long hallway runs past the nominal reach.
- Record the evidence. Pin a photo or voice memo to each head noting ceiling height and obstructions, so the as-fitted survey matches the design when you return to commission.
Tip. The nominal radii are a starting point, not a substitute for the standard. Always verify spacing against the current edition of BS 5839-1 (2025), BS 5839-6 or NFPA 72 for the building's category, ceiling height and construction before you certify.
From plan to a zone document
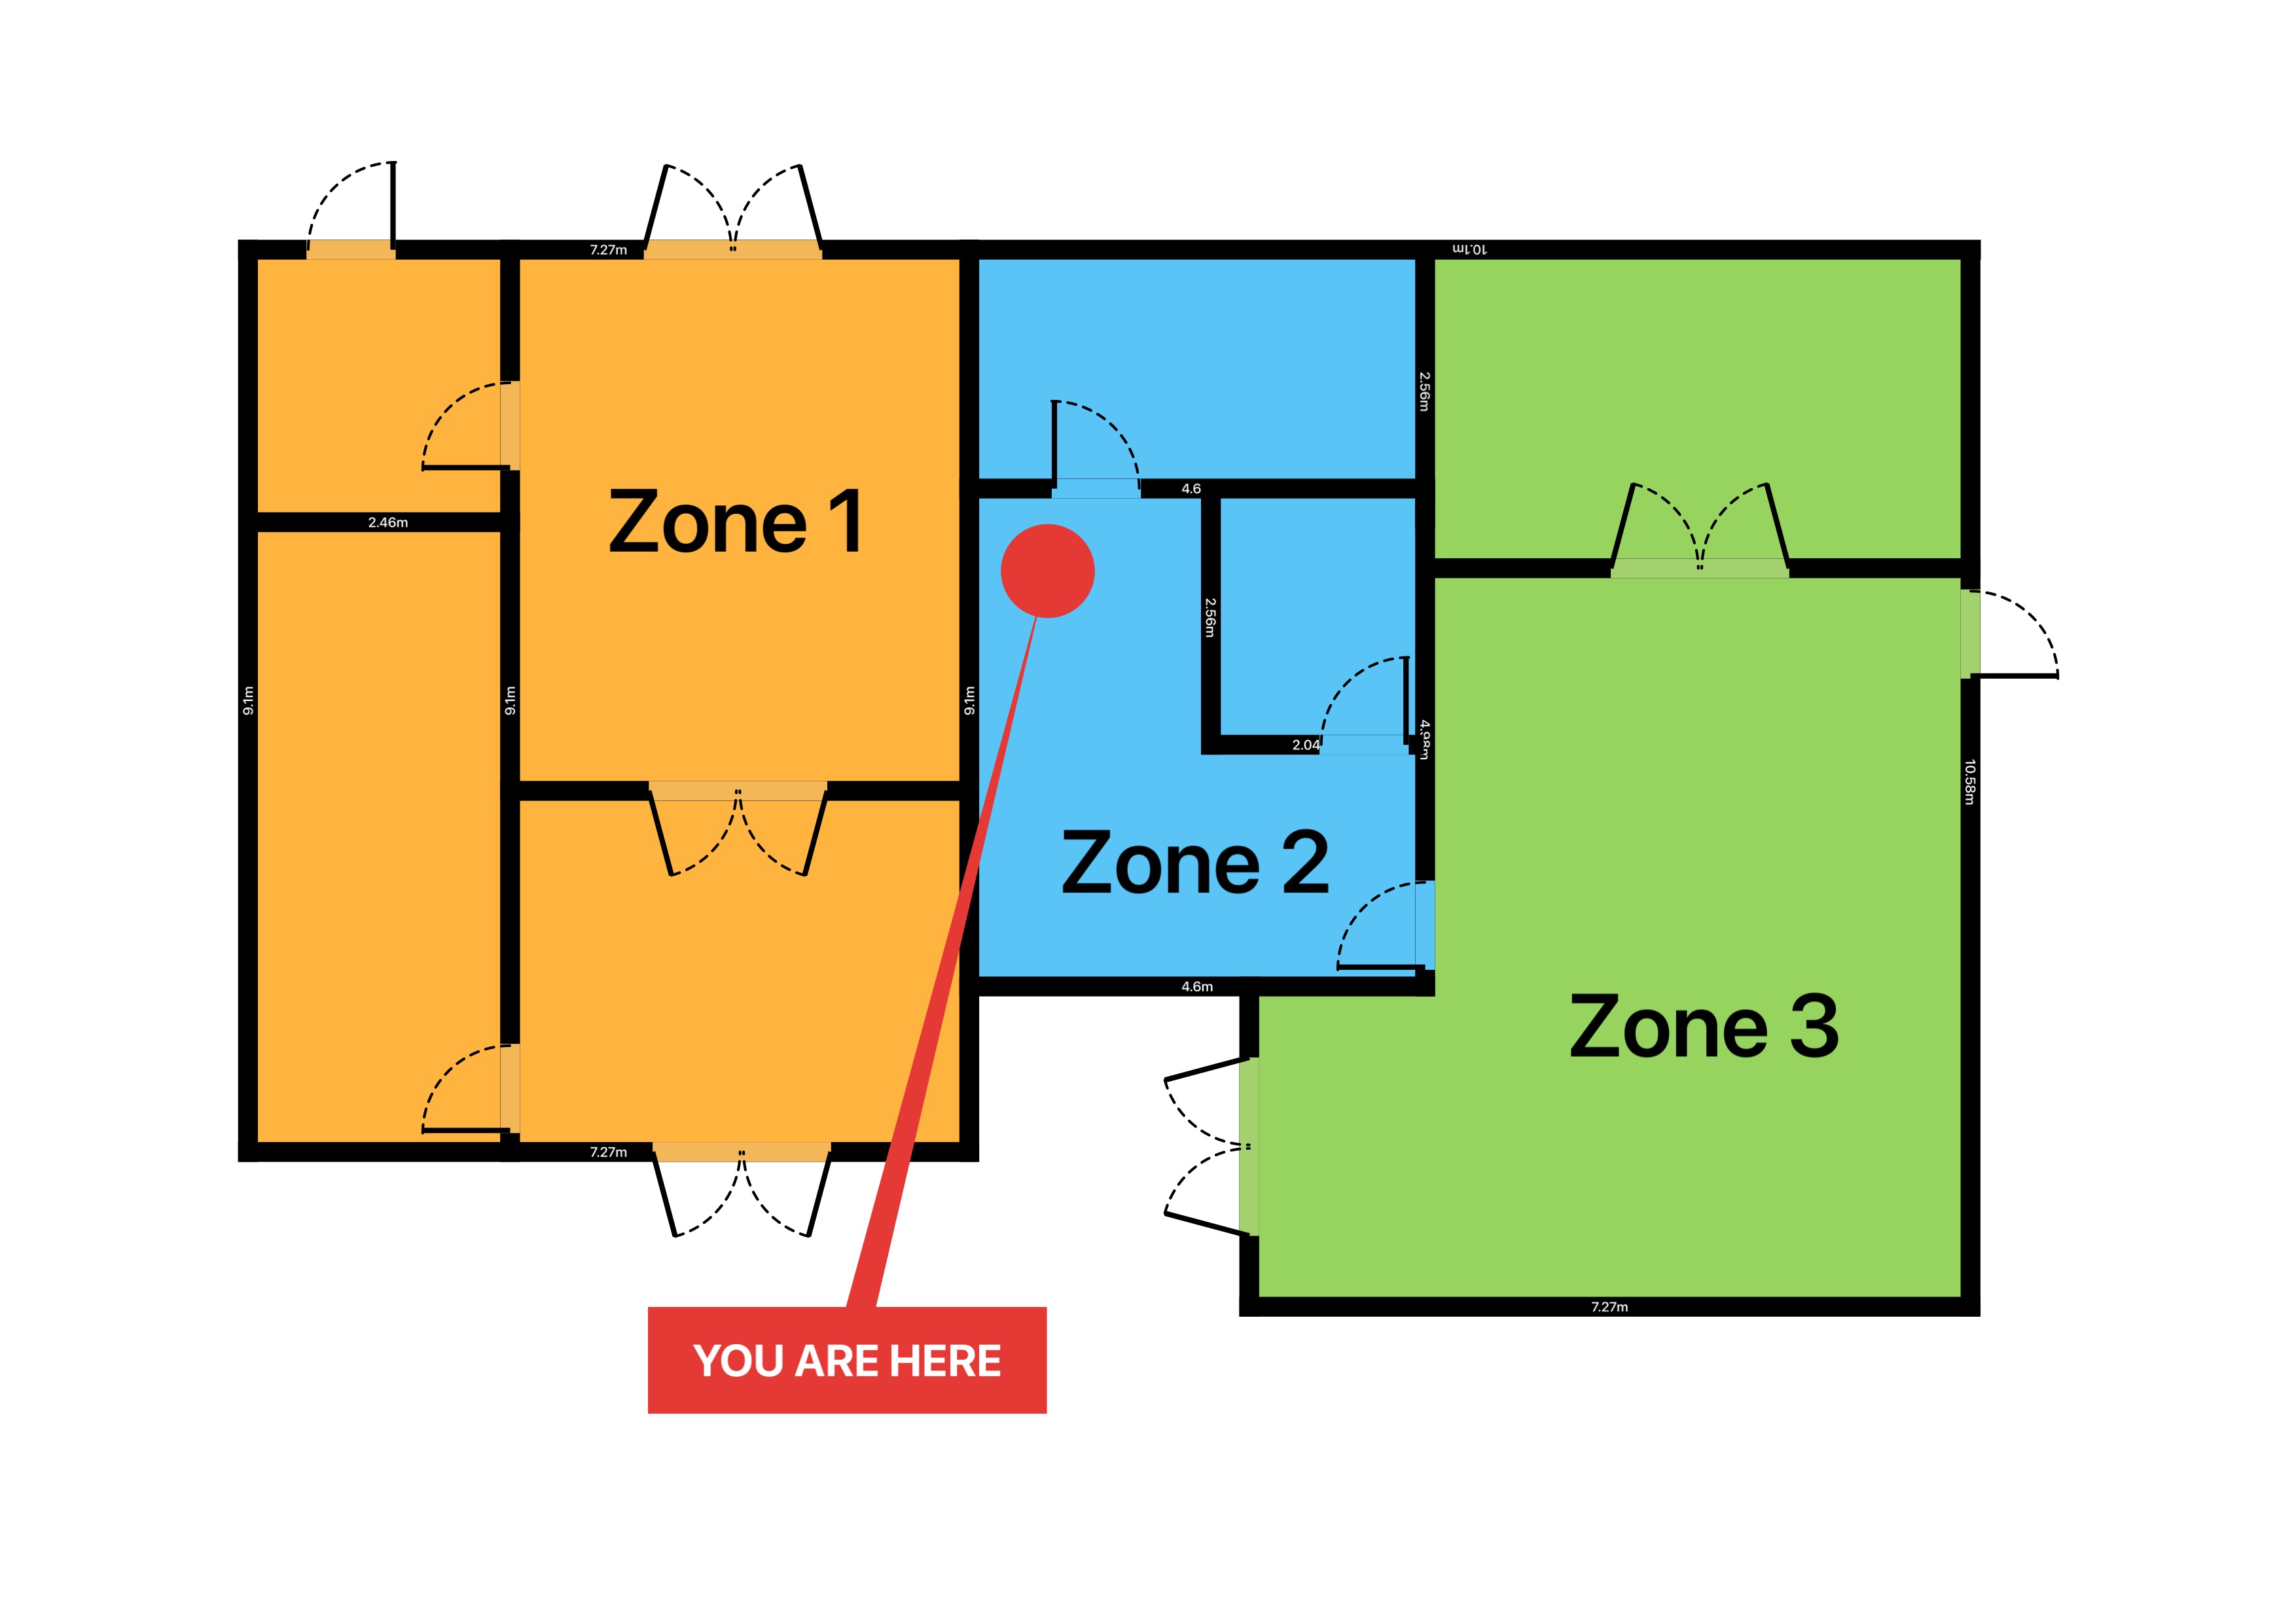
Once coverage looks right, the same plan becomes the paperwork. Add the red Fire Alarm Zone Plan banner, switch on the multi-page report, and the Fire and Security preset forces coverage areas to print. You get a branded PDF that shows the head positions, the protected areas and the legend in one pass - multi-floor projects keep each storey on its own page. For the zone-by-zone layout that sits alongside this, see our guide to the fire alarm zone plan.
Get it right on paper first
Coverage you can see is coverage you can defend. Drop your detectors, watch the circles fill the rooms, and hand the client a plan that proves every point sits within 7.5 m of a head. Browse the rest of our floor plan guides to take your survey from scan to signed-off report on the device in your hand.