A veterinary practice floor plan has to work for three species at once: the animals who find the building terrifying, the owners who judge it from the waiting room, and the clinical team who walk its corridors two hundred times a day. Get the zoning and the flow right on a scale drawing and the fit-out follows; get it wrong and the practice lives with crossed traffic, stressed patients and a surgery that is never quite clean enough. This guide covers how to plan a veterinary clinic layout and draw it to scale for your fit-out team.
Zone the clinic: client, clinical, patient
Well-designed veterinary buildings resolve into three zones, and the plan should show them before it shows any furniture. The client zone is reception, waiting and the consult rooms - the only spaces an owner normally sees. The clinical zone is treatment, surgery, imaging, lab and pharmacy, where the team works. The patient zone is kennels, wards and recovery, where animals stay. Zoning this way keeps traffic patterns simple, groups the rooms with similar ventilation and finish requirements, and stops a nervous dog on a lead meeting a post-op cat on a trolley in a doorway. Sketch the three zones as blocks first, then place rooms inside them.
Separate the cat and dog waiting areas
The single highest-value move in the client zone costs nothing but layout: split the waiting area so cats and dogs do not share a bench line or a sight line. A half wall, a screen or simply the reception desk between two bays is enough. Position reception so staff can see the entrance, both waiting bays and the consult room doors from one standing point, and keep a clear route from the entrance to the consult rooms that does not pass through either bay.
Make treatment the hub
The treatment room is the working heart of the practice, so place it where the journeys are shortest: directly behind the consult rooms, next to the surgery, and on the route to the wards. Draw the clinical flow as arrows on an early version of the plan - consult to treatment, treatment to surgery, surgery to recovery - and count the doorways each journey crosses. Every extra door is a delay with an animal on a trolley. Size consult rooms realistically too: around 3 by 3 metres gives an exam table, seating for two owners and space to move a large dog without anyone backing into a corner.
Keep the surgery a clean zone
The surgical suite works as a one-way sequence: preparation, theatre, recovery. Put it at the quiet end of the clinical zone with controlled access from treatment, never off the public corridor, and plan storage so nothing has to be fetched through the theatre door mid-procedure. Recovery wants sight lines from treatment so a recovering patient is never unobserved. Mark the clean-zone boundary explicitly on the plan; it is a line the whole team needs to know, and a fit-out contractor prices sealed flooring and ventilation by the area you draw.
Plan the patient zone for noise and hygiene
Kennels and wards generate noise and need washing down, so keep them away from the consult rooms, separate dog and cat wards, and give the ward corridor a route to an outside exercise or toileting area that avoids the client zone entirely. An isolation kennel with its own access earns its floor space the first time an infectious case arrives. Drainage, plumbing and ventilation runs are far cheaper to coordinate on the drawing than to cut into a finished floor, so mark them early.
Tip. Draw every door swing and check what it hits. A consult room door that opens against the flow of the corridor, or a kennel door that blocks the ward aisle when open, is obvious on a to-scale plan and cheap to re-hang on paper.
Draw it to scale and share it
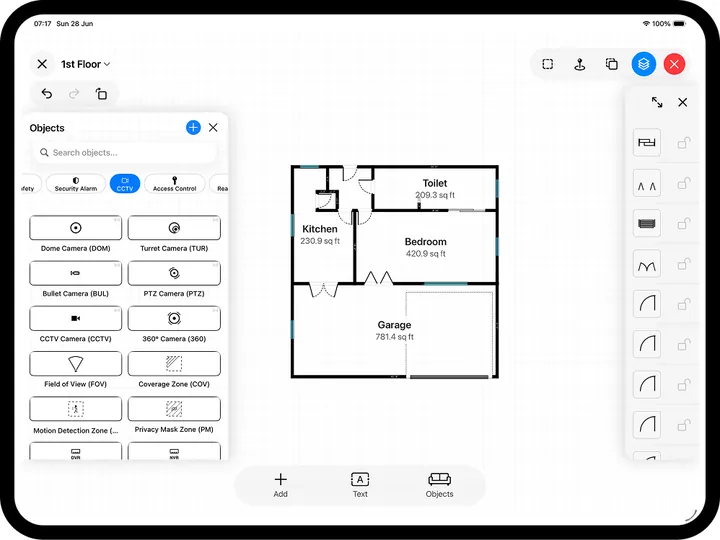
Lay the practice out in RoomPlot: scan the existing building with LiDAR on a Pro iPhone or iPad so the walls, doors and windows arrive already measured, or draw the proposed layout manually from a shape template. Label every room with a zone label showing its name and calculated floor area, place real furniture and equipment footprints from the object library, and check the clearances with on-plan dimensions. Then export what each audience needs: a dimensioned A4 PDF for the landlord and the team, a DXF for the shopfitter's CAD, or a multi-page report with a legend and per-room area summary. The same commercial fit-out logic applies as in our guide to creating an office floor plan.
Zone it, walk the flows on paper, and protect the clean line around the surgery, and the building will work as hard as the team inside it. Explore more walkthroughs on the guides index, then draw your practice to scale in RoomPlot.