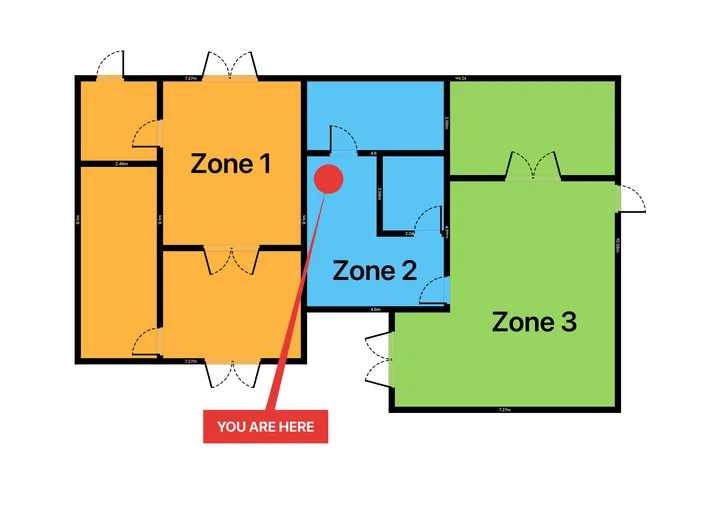
When the mains fail, the only thing between people and a safe way out is the emergency lighting. A good emergency lighting plan shows every luminaire and exit sign against the real escape routes, so an installer, a fire risk assessor, or a building control officer can see the whole life-safety picture at a glance. This guide walks through planning one properly on an iPhone or iPad.
What an emergency lighting plan needs to show
Emergency lighting is designed around the means of escape, not the whole building evenly. Your plan should make the escape strategy obvious and mark a luminaire everywhere the guidance expects one:
- Escape routes - corridors, aisles, stairs and the final exits, drawn as continuous walls with the openings in the right places.
- Decision points - every change of direction, junction, and door on the route.
- Life-safety kit - fire alarm call points, extinguishers and first-aid points, which all need illumination so they can be found in the dark.
- Level changes - stairs and steps, where a shadow is genuinely dangerous.
- Open areas - larger floors where anti-panic lighting keeps people oriented until they reach a route.
Step 1 - Capture the floor as it really is
Start from an accurate plan, because the lighting is only as good as the route it lights. On a LiDAR iPhone or iPad Pro you can scan each room and RoomPlot detects the walls, doors and openings automatically; on any other device draw the walls by hand and let snapping keep the corners square. For a whole building, scan room after room and combine the floors into one project so the escape strategy reads across every level.
Step 2 - Mark exits, escape routes and life-safety points
RoomPlot ships a dedicated fire-safety symbol set, so you can place the exact objects an emergency lighting plan expects rather than improvising. Drop emergency exit markers on the final exits, add escape-route arrows to show the direction of travel, and place the fire-alarm panel, manual call points, extinguishers and assembly point so the reader can see everything that must stay lit. Add a clear title banner - for example Emergency Lighting Plan - so the exported sheet is self-explanatory.
Step 3 - Position the luminaires along the route
Work along each escape route and place a luminaire at every point the guidance calls out: at each exit door, near every change of direction, at stairs and any change of level, and close to the fire-safety equipment. RoomPlot's electrical library includes a dedicated emergency light and an emergency exit sign, which also sit in the Fire Safety set next to the escape route arrows, so you can drop each fitting onto the plan, rotate it and label it. Space them so the lit patches overlap and no stretch of the route goes dark - it is better to add one more fitting than to leave a gap.
Tip. Be generous at the exit itself. An emergency luminaire immediately outside each final exit door makes the doorway obvious from inside and lights the ground where people step out - a spot inspectors look for first.
Step 4 - Add area zones and check the coverage reads clearly
Use zone labels to name each area and stamp its floor area from the plan, so a large open space is clearly identified as one that needs anti-panic cover. Turn on dimensions where spacing matters and set a north marker once so it stamps onto every export. Then step back: follow each route from the furthest point to a final exit and confirm there is a luminaire at every decision point along the way.
Step 5 - Export a clean, branded sheet
When the layout is right, export a single-page PDF or PNG for a quick markup, or a multi-page branded report with an automatic legend that tallies every symbol you have used - handy proof of what is specified where. Send a DXF when an electrical designer needs editable CAD geometry. The plan opens in any CAD viewer and drops straight into a wider drawing set.
Common mistakes to avoid
- Lighting the building, not the route. Emergency lighting follows the escape strategy - concentrate it on routes, exits and hazards.
- Missing the decision points. A junction or a door with no luminaire is exactly where people hesitate.
- Forgetting the level changes. Stairs and single steps need their own cover.
- An unlabelled sheet. Add a title banner, a north marker and a legend so anyone can read it cold.
Planning the fire side of the same building? See our fire alarm zone plan guide, or browse more floor-plan guides. Map your next site in an afternoon and hand over a plan that speaks for itself.