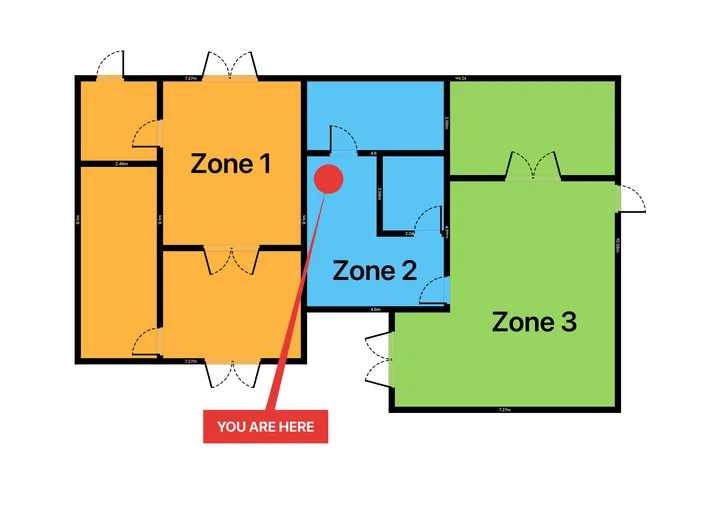
Manual call points are the simplest devices on a fire alarm system and among the most commonly mis-sited. BS 5839-1 is specific about where the red boxes go: on escape routes, at storey exits and final exits, at a set height, and never more than a set travel distance from any occupant. Get the siting right on the floor plan first and the installation, commissioning and inspection all follow. This guide summarises the siting rules and shows how to produce a clear call point layout drawing.
The siting rules in brief
For a typical BS 5839-1 system in a non-domestic building, the recommendations that drive call point positions are:
- Every final exit to open air gets a call point, whether or not it is a designated fire exit.
- Every storey exit gets one: place a call point beside each door onto a protected stairway, on the accommodation side.
- Travel distance: no person should have to travel more than 45 m along the actual route to reach the nearest call point. Where rapid fire development is likely, or occupants have limited mobility, reduce that to 25 m.
- Mounting height: the operating element at 1.4 m above finished floor level (plus or minus 200 mm), visible, unobstructed and conspicuous.
- Areas of high fire risk, such as commercial kitchens or plant rooms, warrant a call point at the exit from the area.
These are recommendations of the standard rather than law in themselves, but they are the benchmark fire risk assessors, insurers and certification bodies audit against, so variations should be agreed and recorded, not improvised.
Where the call points go on the plan
On a floor plan the pattern is easy to check visually: a call point beside every door that leaves the storey or the building, then extra points along long corridors and at high-risk rooms until no measured route exceeds the travel distance limit.
Work through a storey in this order:
- Mark every final exit and storey exit, and place a call point at each.
- Trace the longest real walking route from the most remote point to its nearest call point. If it exceeds 45 m (or 25 m in the reduced cases), add a call point along the route.
- Add points at exits from high-risk areas.
- Check nothing obstructs visibility: a call point hidden behind a propped door fails its job and its inspection.
Drawing the layout in RoomPlot
RoomPlot's fire safety library includes the manual call point symbol alongside smoke and heat detectors, sounders, the alarm panel and exit signage, so the whole system lives on one scaled drawing:
- Capture the building by LiDAR scan or manual drawing, with multi-floor support for a storey-by-storey layout.
- Place the symbols at each exit and along the routes. Because the plan is to scale, route lengths can be checked against the drawing's dimensions and scale bar rather than guessed.
- Zone the plan and add the dedicated red "Fire Alarm Zone Plan" banner for the document the panel location requires. Our fire alarm zone plan guide covers that step.
- Export the evidence. The multi-page PDF report adds an automatic symbol legend with counts (handy for ordering and for the commissioning certificate), plus site photos and notes. Detector siting has its own rules; see smoke detector coverage and spacing.
Tip. Photograph each installed call point and attach the photos to the project in RoomPlot. A layout drawing plus per-device photos at handover answers most of the questions a fire risk assessor will ever ask about the installation.
Common siting mistakes
- Placing call points only at designated fire exits and missing ordinary exits to open air.
- Measuring travel distance in a straight line instead of along the actual walking route.
- Mounting outside the 1.2 m to 1.6 m band, or behind doors, displays and coat hooks.
- Forgetting the reduced 25 m distance in kitchens, care settings and sleeping-risk premises.
- Leaving the drawing out of date after a refit, so the plan at the panel no longer matches the building.
Site the call points on the plan before anyone lifts a drill, and the system will pass its commissioning checks the first time. Draw your call point layout in RoomPlot and browse the rest of our fire safety guides in the articles library.